This week wasn’t much of a week with all kinds of different things happening. With the end of the year fast approaching, many interruptions are taking place week to week.
Monday – Guidance Counselor came in to do career stuff.
Tuesday – Guidance counselor came into to finish career stuff.
Wednesday – Testing, 15 minute classes.
Thursday – Testing, 28 minute classes – Uncle Tom’s Cabin lesson.
Friday – Reward Day for all students, all day.
Yes, I had 43-50 minutes of instructional time all week. Thursday, we did a simple lesson on Uncle Tom’s Cabin and I planned some other lessons that I will share with you here.
Uncle Tom’s Cabin
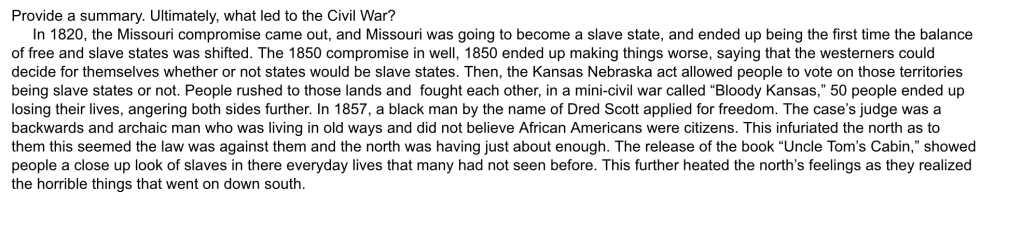
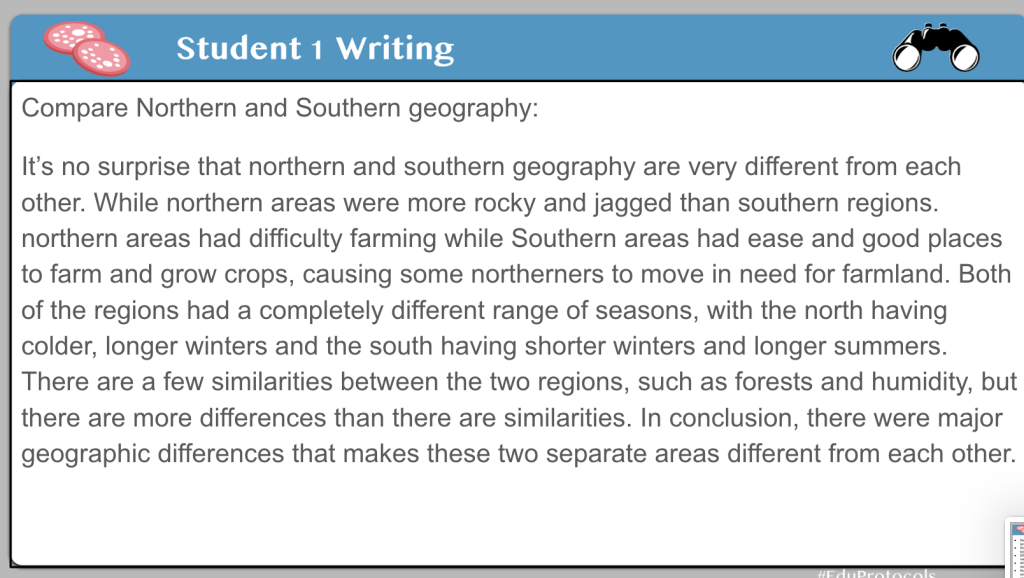
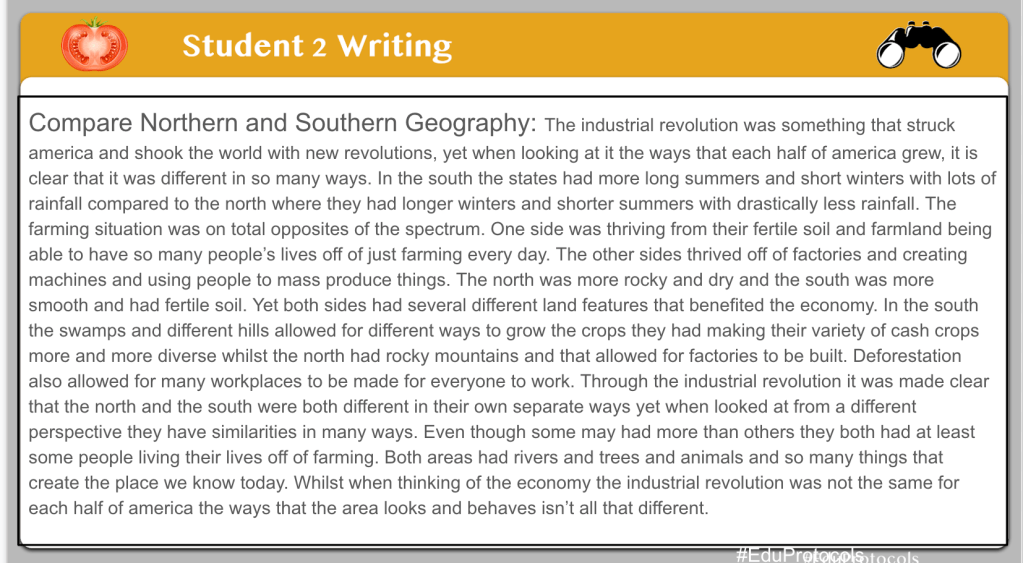
Thursday was a perfect day for this mini Uncle Tom’s Cabin lesson I put together. Many times we teach about Uncle Tom’s Cabin as contributing to the Civil War. We discuss the author, Harriet Beecher Stowe, at great length. However, how many of our students (or teachers) have actually read excerpts from the novel?
In this lesson, I begin by discussing how the novel acted very much like the television in the 1950’s and 1960’s bringing Southern segregation and treatment of blacks into people’s living rooms across the country. The novel brought slavery into the homes of people all over the country.
After my brief introduction, we did a Fast and Curious about the characters and basic facts regarding the novel. After the fast and curious, I gave some feedback and then we hit again right away.
After 2-3 rounds of quick Fast and Curious, students could choose from 3 chapter excerpts to read:
- A Mother’s Struggle
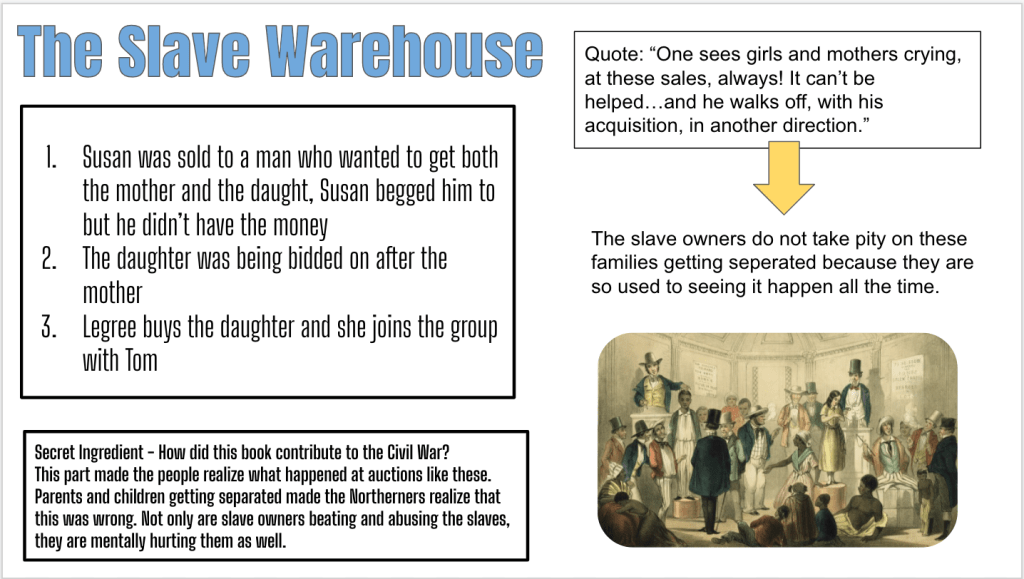
- Slave Auction
- Cassy
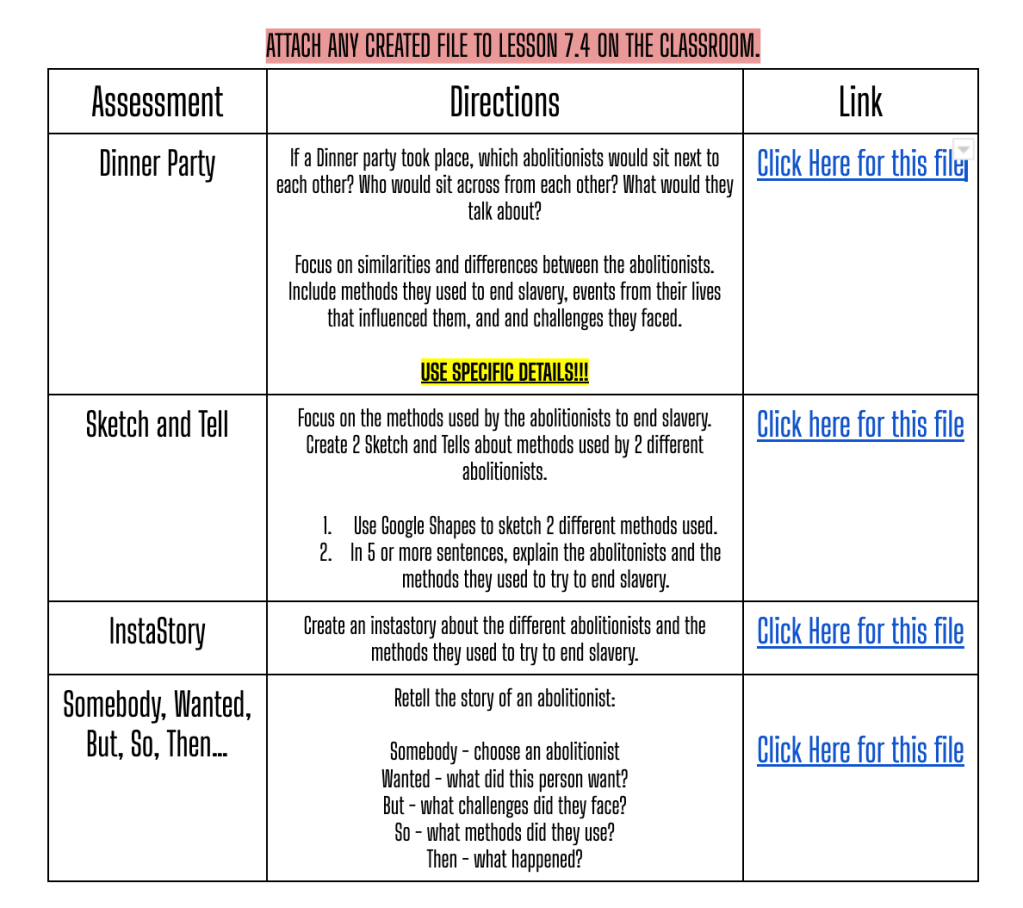
As students read their selected chapter, they designed a slide about that chapter. They focused on retelling the events from the chapter, sharing and analyzing a quote, adding a relevant picture, and analyzing why this would contribute to the start of the Civil War.


First Emperor of China
I don’t teach 6th grade, but I help out our 6th grade teacher with designing lessons and incorporating some EduProtocols. I designed this lesson for Lesson 19 – The First Emperor of China using History Alive.
Day 1
- Thin Slide – add one picture, one word to show what makes someone an effective or ineffective leader. This was to get students thinking about the overall question they were trying to answer – Was the emperor of Qin an effective leader?
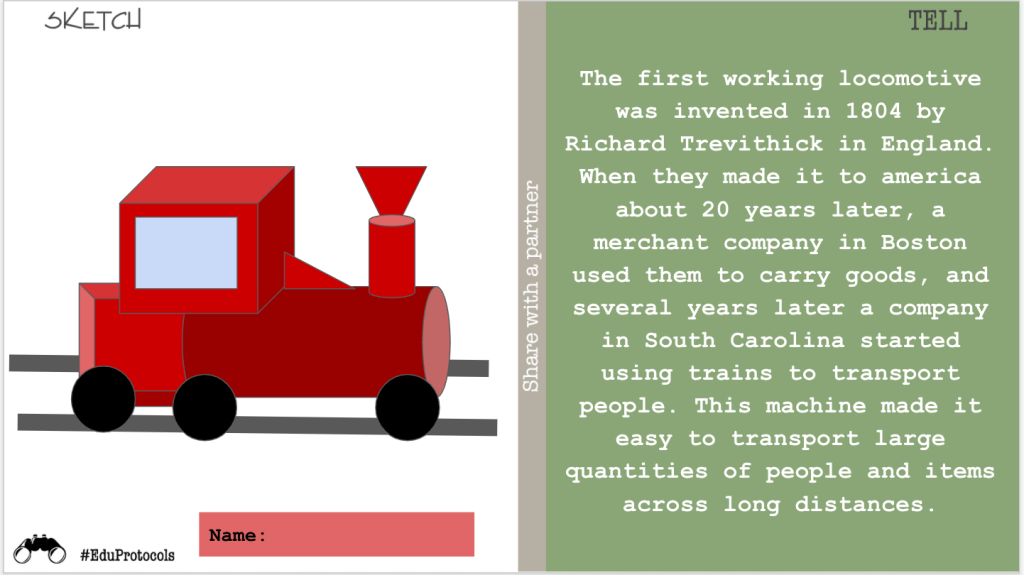
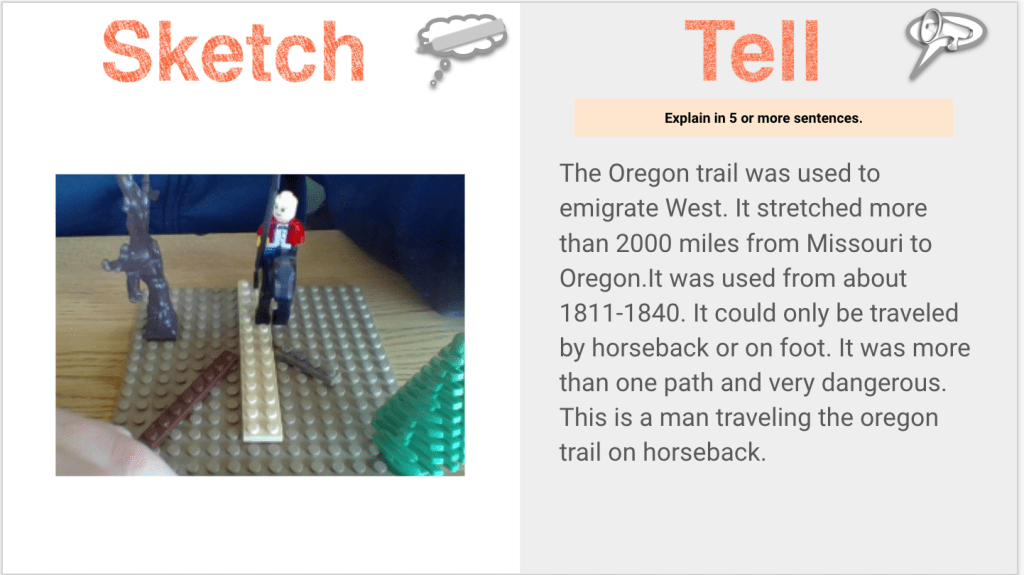
- Sketch and Tell – to me, three important vocabulary words for students to understand in this lesson are Great Wall, Legalism, and Qin Shi Huangdi. The Great reflects Qin major accomplishment. Legalism reflects his ruling style, Qin himself is important for students to create a representation based on some basic information they learned about him.
- Fast and Curious Quizizz – try to run this twice.
Day 2
- Fast and Curious Quizizz – try to run this once or twice during the class period.
- Iron Chef – the Iron Chef was designed for students to create a character profile about Qin Shi Huangdi. Students read the section about him and list adjectives and facts related to his life and leadership. Students will then partner up for some Glows and Grows – what is one thing you ike about your partner’s slide? What is one thing they need to improve on their slide?
Day 3
- Fast and Curious – run this at least once during class.
- Thick Slide – students choose one of the sections related to Qin and his highlights, or lowlights and design a thick slide. The options are – Standardizing culture, the Great Wall, removing opposition, and his death.
- Frayer – this is done on paper. Students share their Thick Slides with each other and collect notes in a Frayer model. The slide links are shared through a Google Form that in convert to a Google Sheet.
Day 4
- Frayer – students finish the Frayer and use their notes for the final project.
- Archetype – the archetype lesson is from the upcoming Eduprotocols Social Studies book that I co-authored with Dr. Scott Petri. Students will apply an archetype to Emperor Qin to decide if he was effective or ineffective as a leader. They will use their frayer information to defend their choice.
Civil War Lesson
Near my school is an old cemetery – Watkins Hill Cemetery that was one of the original burial grounds created for the village of New Richmond. In fact, one of the founders of New Richmond is buried there. It’s a cool spot to take the students and we look at the grave stones, discuss the history of New Richmond, and I teach them the difference between a cemetery and a graveyard. (Do you know the difference between a cemetery and a graveyard? Give my history, this is seriously not a dad joke.)
One thing I always wanted to do was figure out who some of these people are, but relate it to a current lesson. However, I didn’t know how to go about looking people up. This was the case until my students teacher showed me the national archives site for looking up veterans. (If anyone else knows another way, please help me out! I would love some feedback and more sources.) This cemetery has several Civil War veterans and this National Archives site is a great way to get us started.
Here is my plan that was inspired by a lesson design from Dr. Scott Petri:
Day 1
- Great American Race – to teach about Civil War Battles, people, basic terms. Examples include: Abraham Lincoln, Ulysses S. Grant, The Union, Confederate States, Secession, etc…
- Frayer – (Amanda Sandoval template) the Frayer is used for students to learn some vocabulary.
- Fast and Curious – to learn some basic military terms – company, infantry, general, private, etc…
Day 2
On this day, we would head to the cemetery looking for Civil War Veterans. I would have students try to writ down 2-3 names and the information from the grave stone. We would then head back to class and I would have students submit names through a Google Form.
Day 3
On this Day I would have students list 10 facts about their veteran. Then I would have students list the facts from interesting to boring. Then I would have them design an Iron Chef slide about their veteran. The Secret Ingredient would have the students list the battles the veterans fought in during his service in the Civil War.
Day 4
Design a Thick Slide about a battle or battles the Civil War Veterans fought in. Take the battle information and add it to the Iron Chef to complete a better picture of this veteran.
Day 5
Have students take their paragraphs from the Iron Chef and paraphrase their words down into an easy to read format. For example, if they had 200 words, shrink it down to 160 words or something. Finally, have students record their paraphrased tribute through Flipgrid.
I wish I had more to share in the way of links for some of these lessons, but I was literally thinking out loud and typing. More to share soon….