This week we continued the American Revolution. We focused on some of the taxes and acts that made the colonists mad. Then we shifted our focus to how the patriots, colonists, and others protested to show their anger.
Every year I evaluate the lessons from the previous year. New school years bring new students, and I simply can’t teach the same way. I teach the same content, but I change how I teach. For example, last year I used a powerpoint from Mr. Roughton’s website that related the taxes and acts to a parent fighting with their child. This year, I decided to switch the content up to a CyberSandwich with Nearpod. The nature of my classes, and trying to rock and roll with more EduProtocols, influenced my decision.
I also through in some review games this week. One of my new favorite review games is the Rolling Recap which is from the EMC2Learning site. I used the 12 topic stitch up also from the EMC2Learning site. The 12 topic stitch up is fun, and competitive, so I only used it with two of my classes (one class of mine has 29 students and competition would lead to chaos).
All in all, this was a big week. We smashed and rack and stacked lots of protocols with the American Revolution. This is what I love about EduProtocols – the options and creativity are endless. I’m excited to share these new ideas with you…………
Monday – Nearpod CyberSandwich, Gimkit
Tuesday – Rolling Recap, Gimkit
Wednesday – Graffiti Wall, Frayer, CyberSandwich, Retell In Rhyme
Thursday – Rolling Recap, Retell in Rhyme, Gimkit
Friday – Number Mania, 8Parts, Gimkit
Monday
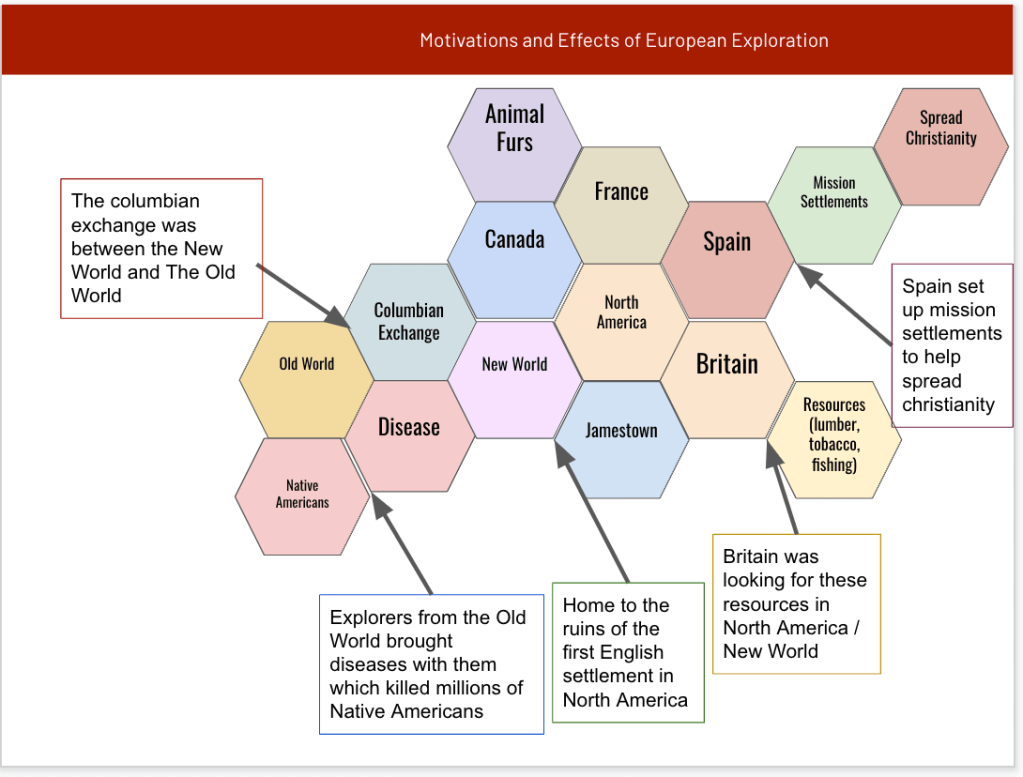
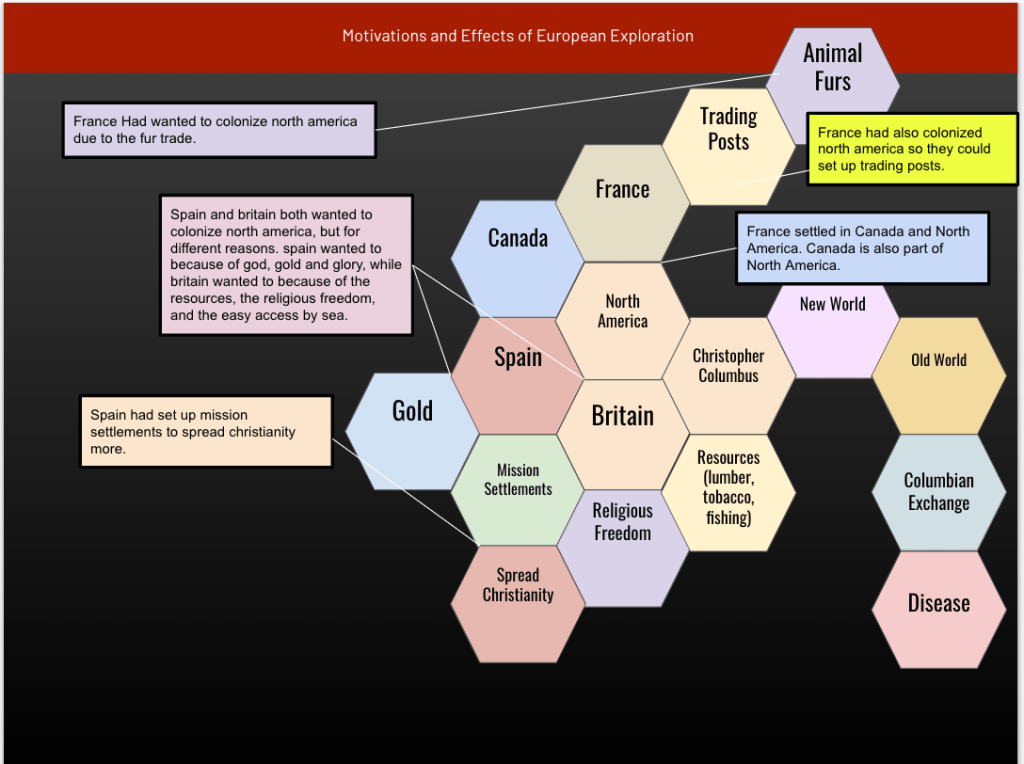
Today we used Nearpod to complete a CyberSandwich. I like this option because it provides me with some control over the teaching and situation. When I put together the Nearpod CyberSandwich, this was my setup:
- Collaboration Board – what do you know about the taxes and acts that made the colonists mad?
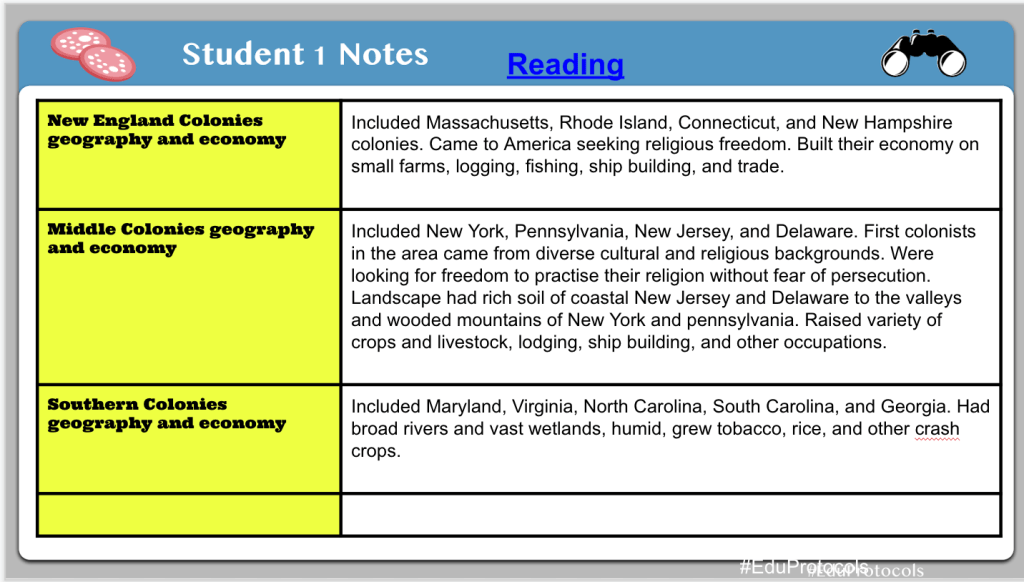
- Open ended question – I linked the reading with the CyberSandwich and added a 10 minute timer. Students read for 10 minutes and took notes.
- Collaboration Board – students shared 1 or 2 facts from their notes.
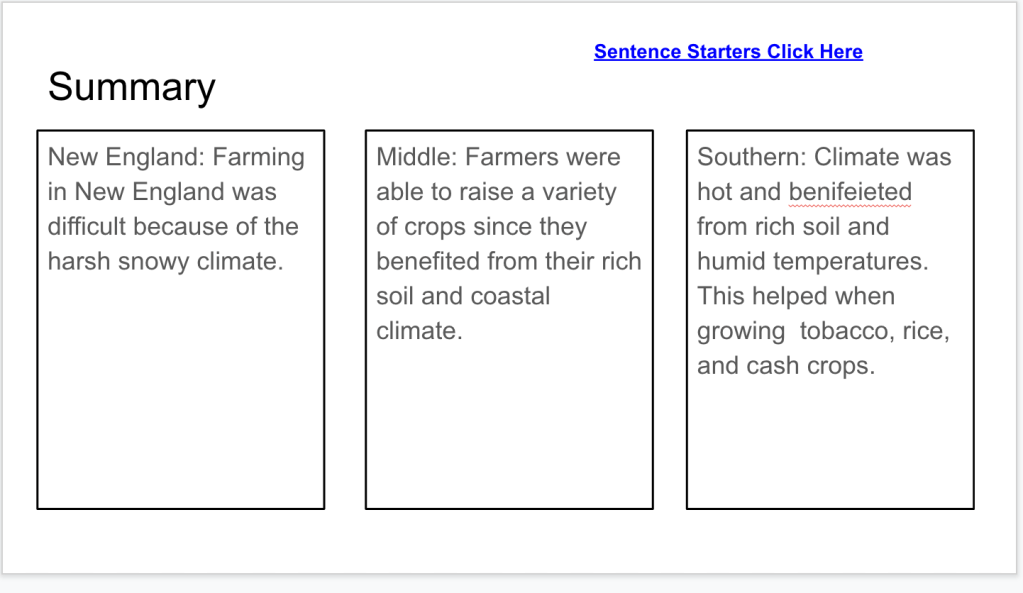
- Open ended question – I set a timer for 10 minutes and students wrote a summary from their notes. I also added some scaffolding with sentence starters.
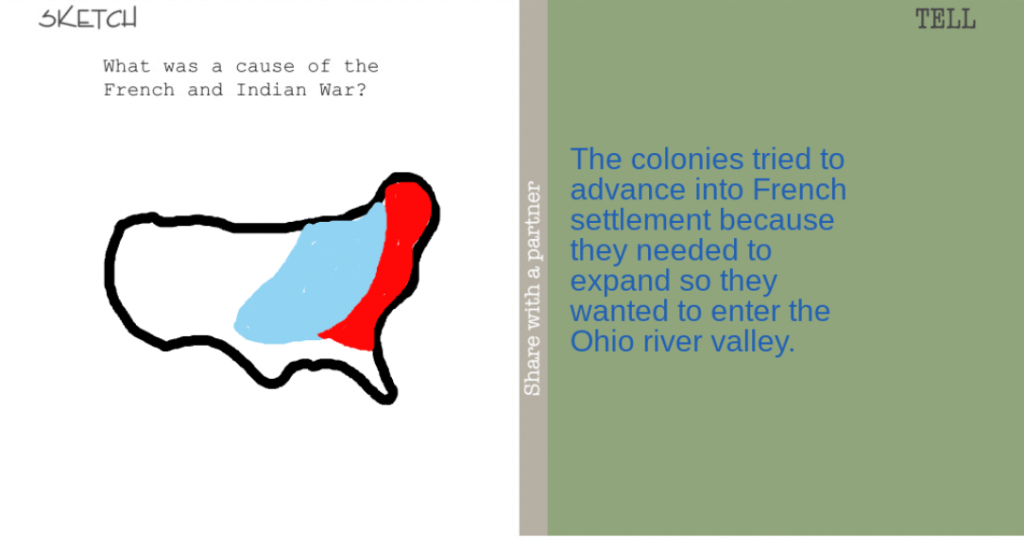
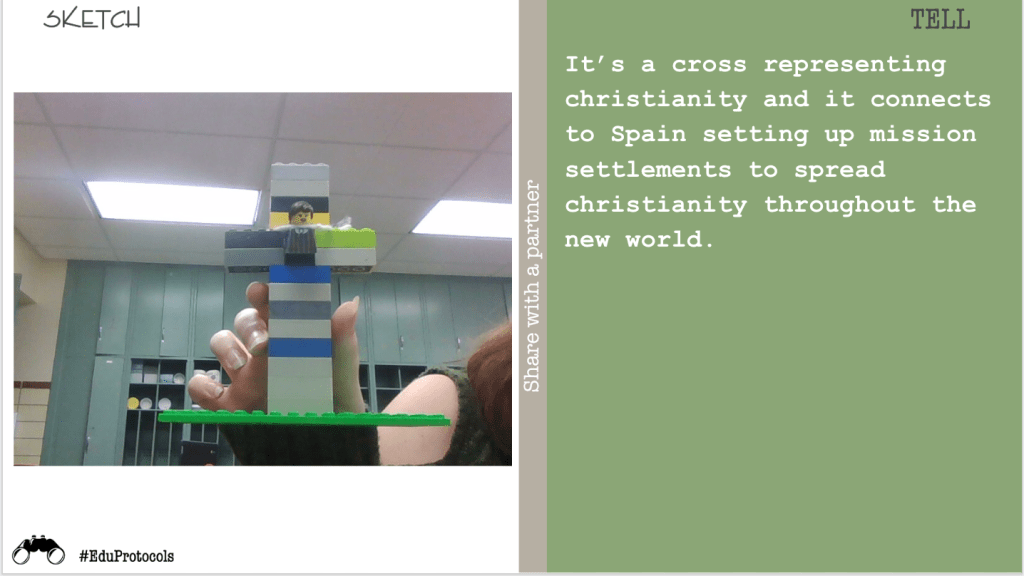
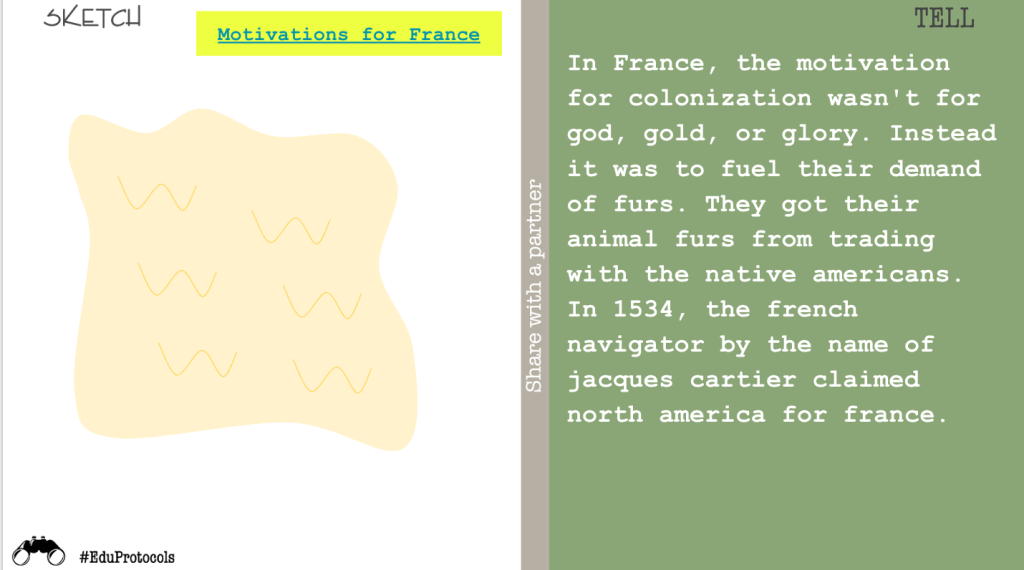
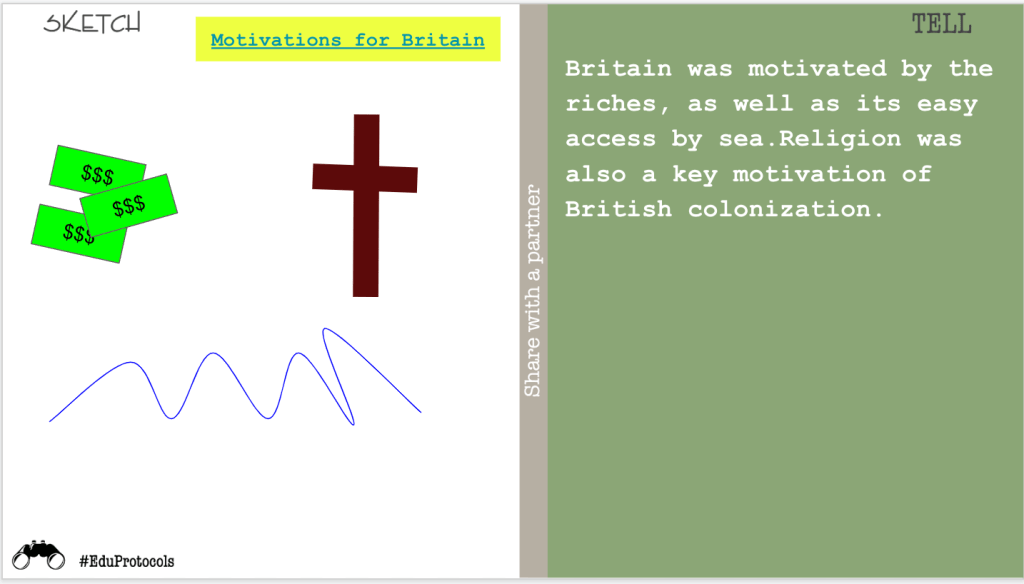
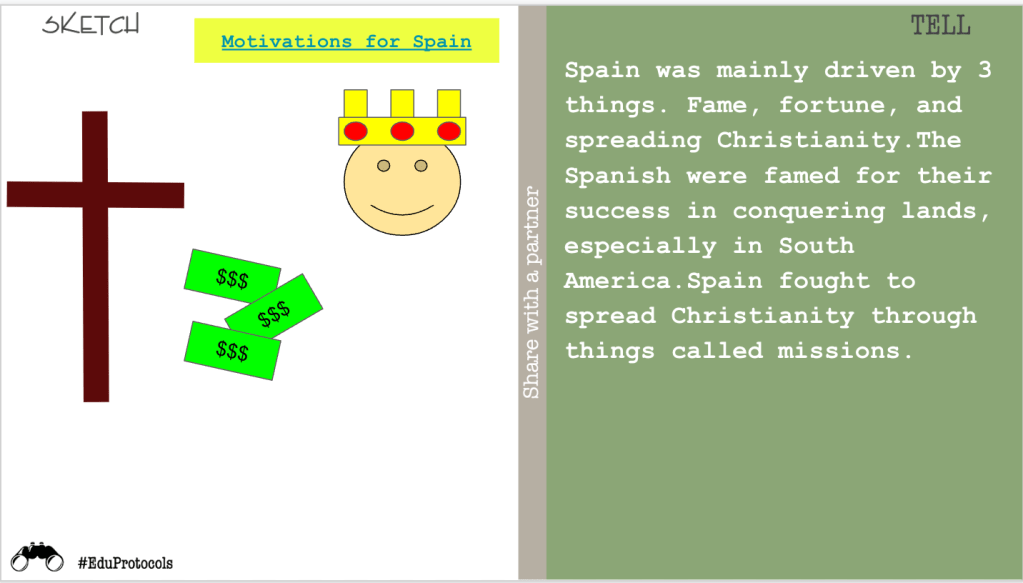
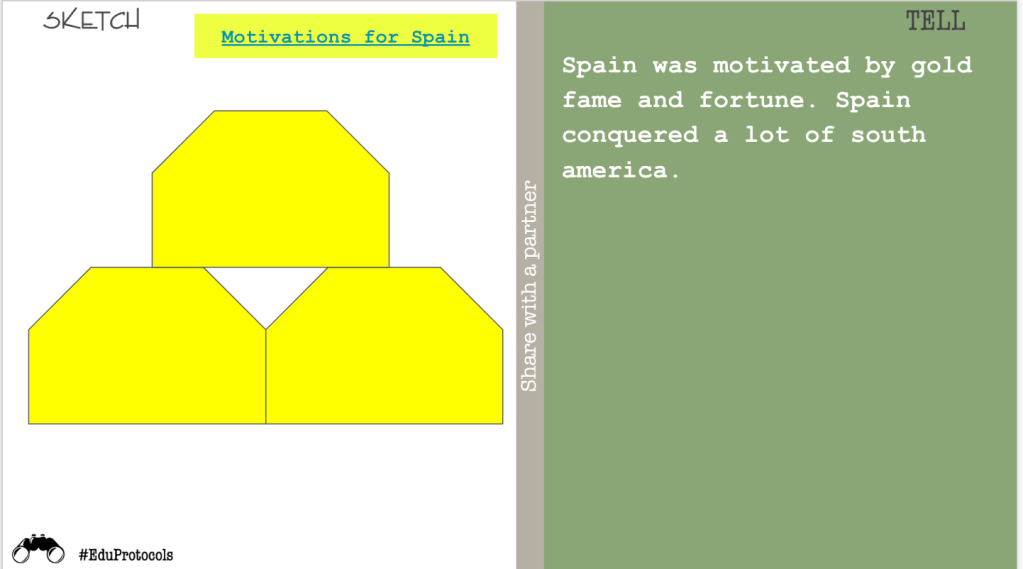
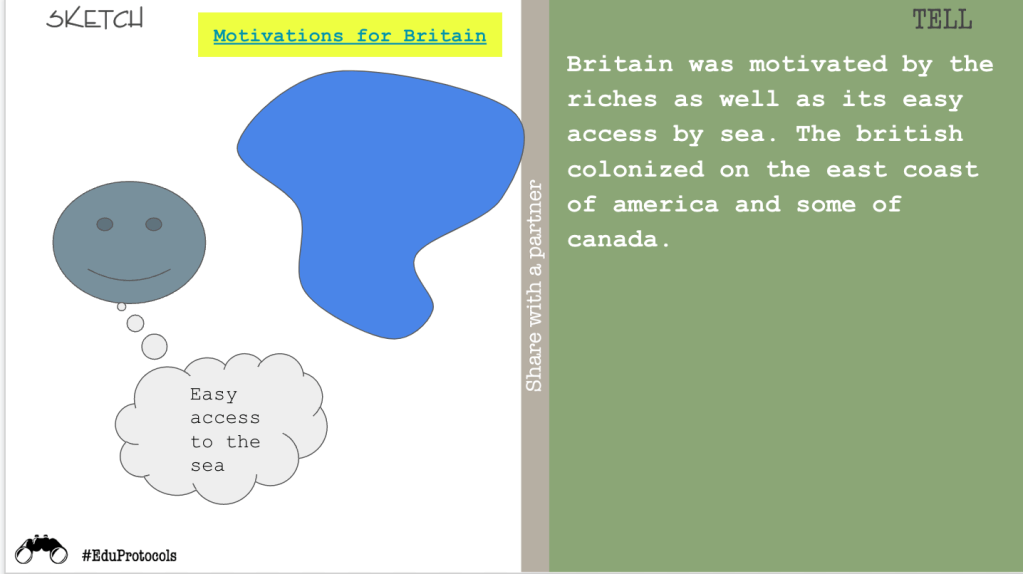
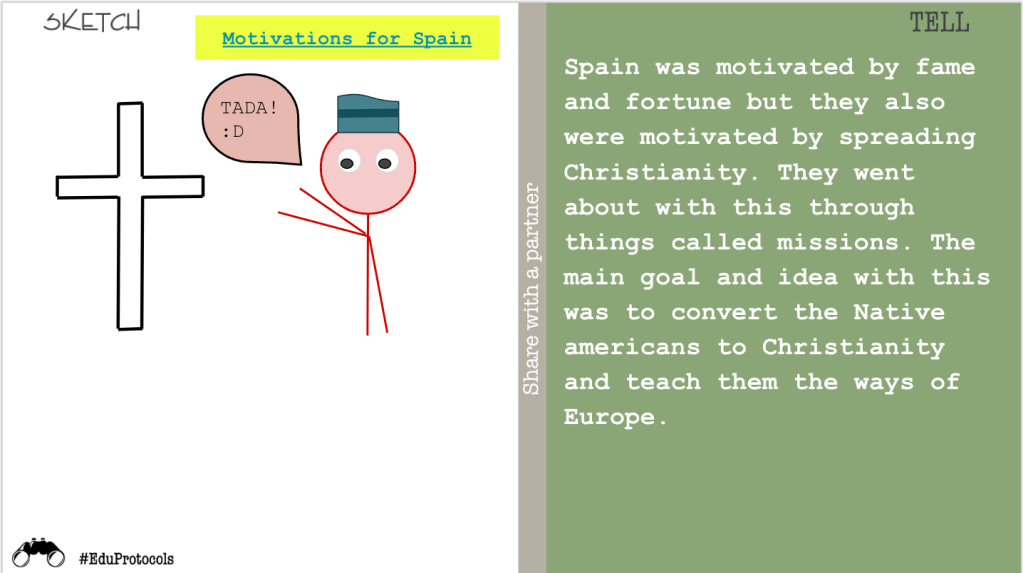
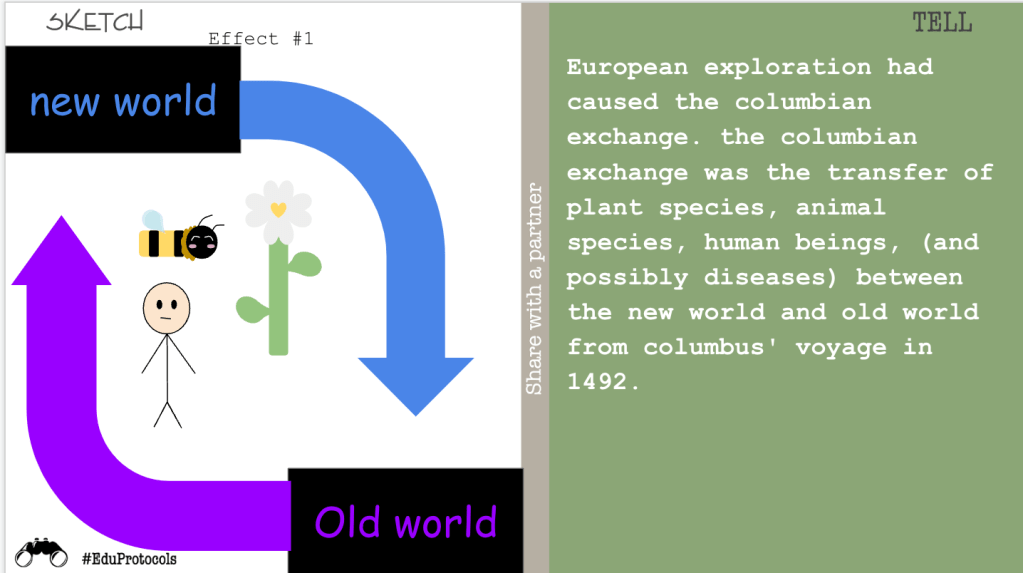
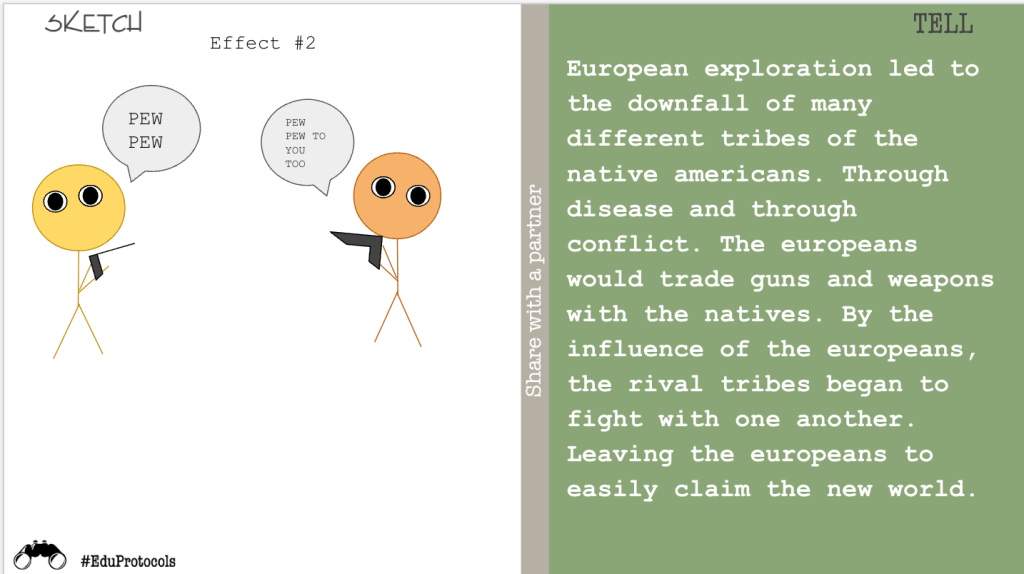
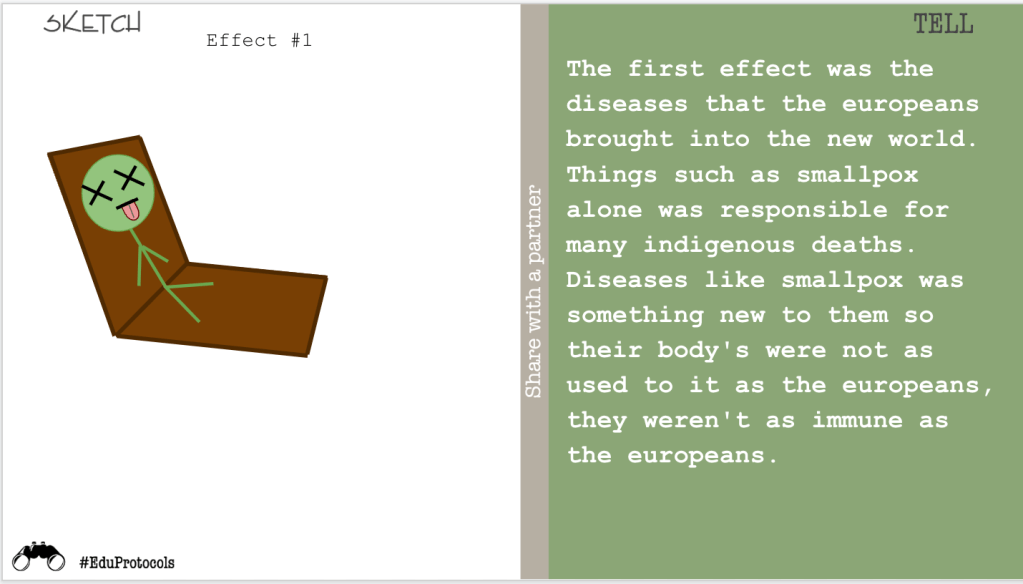
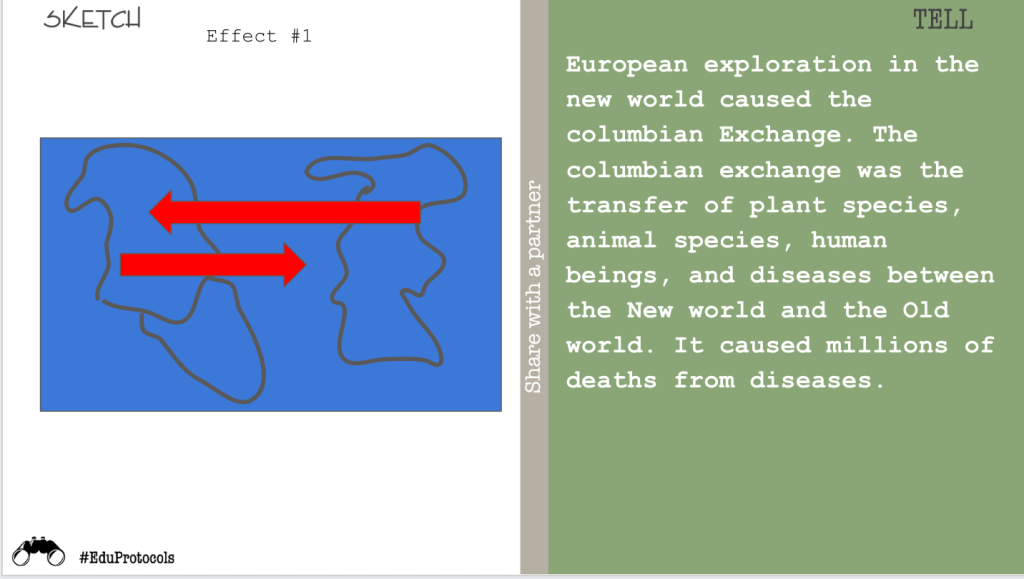
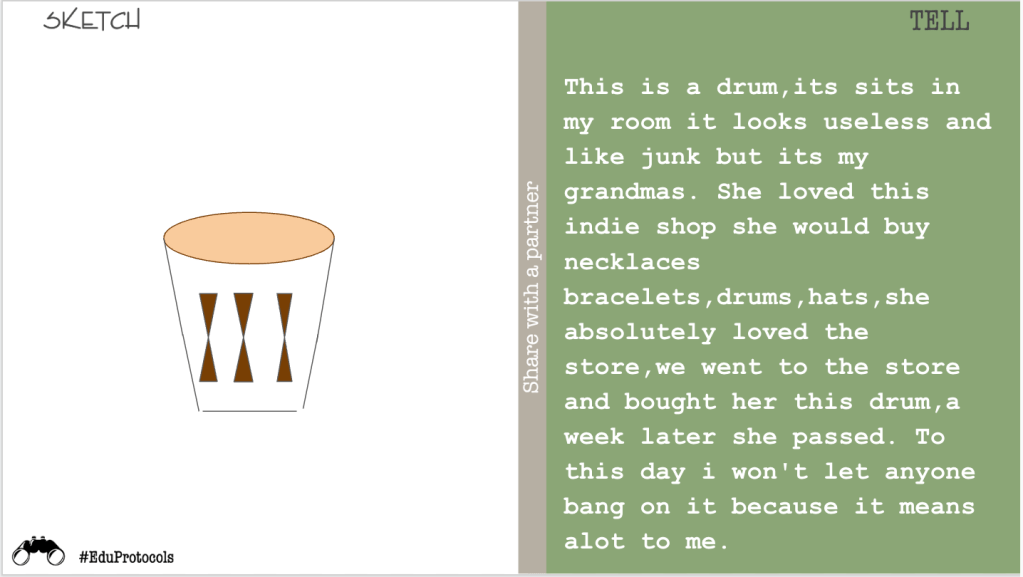
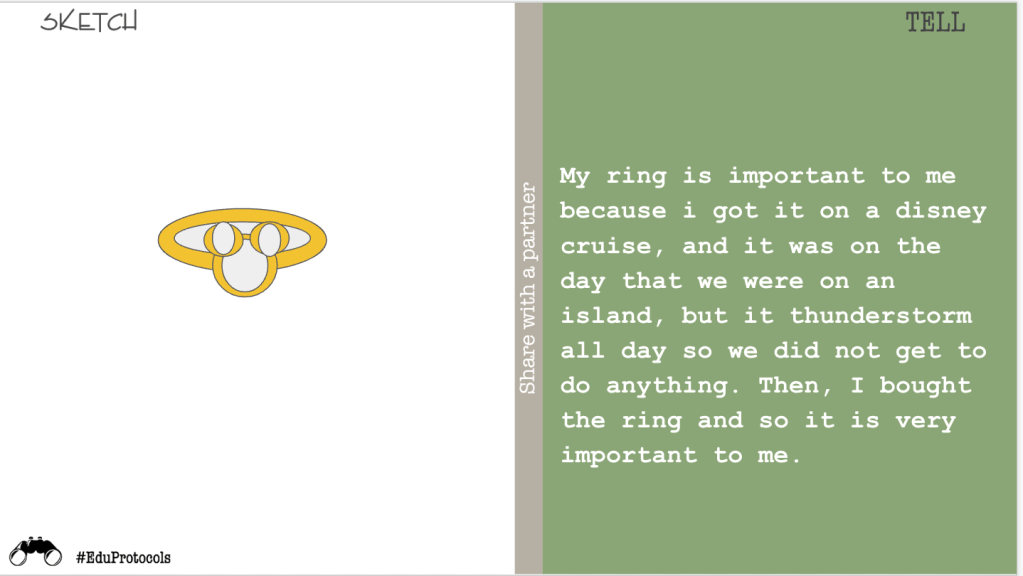
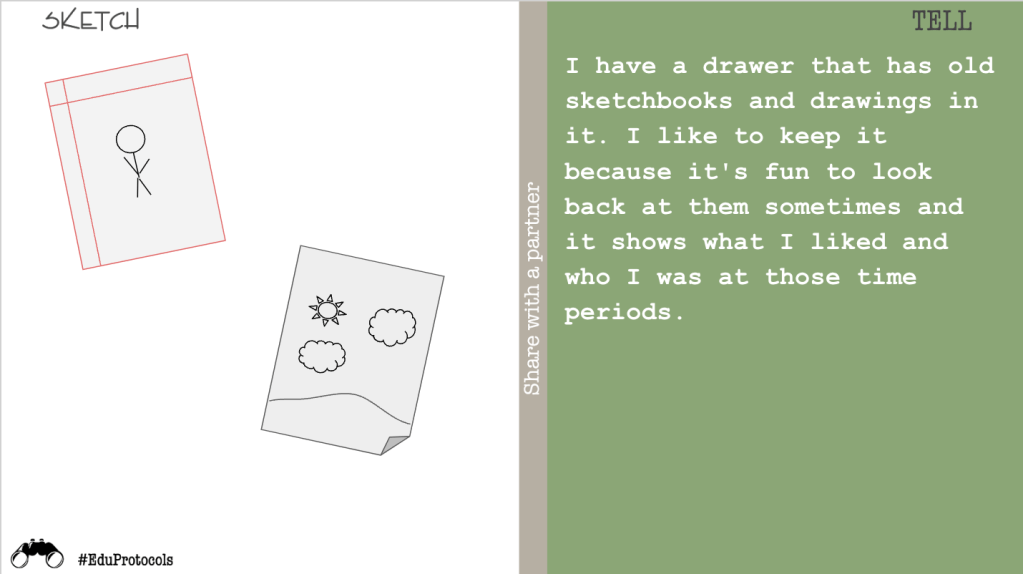
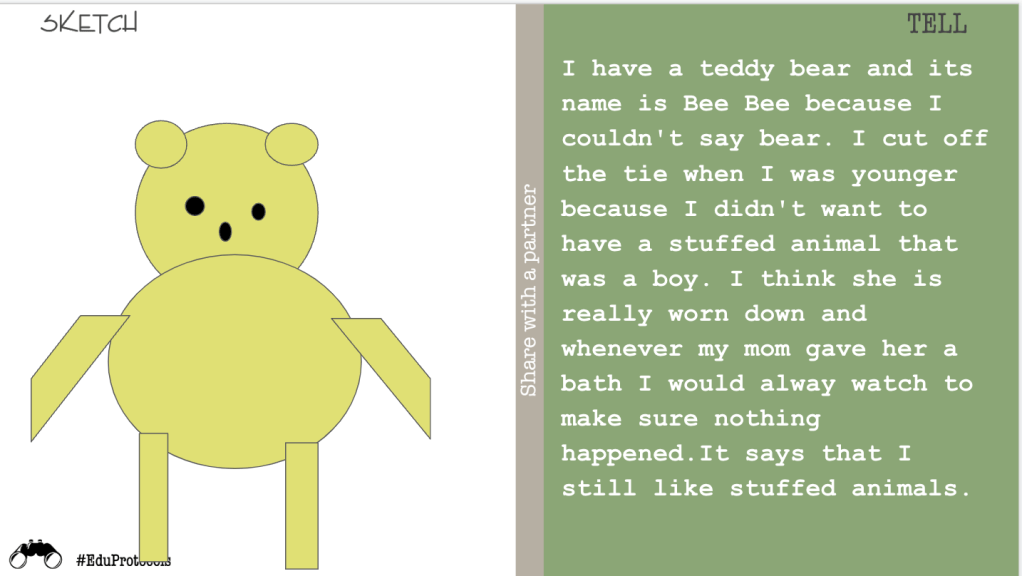
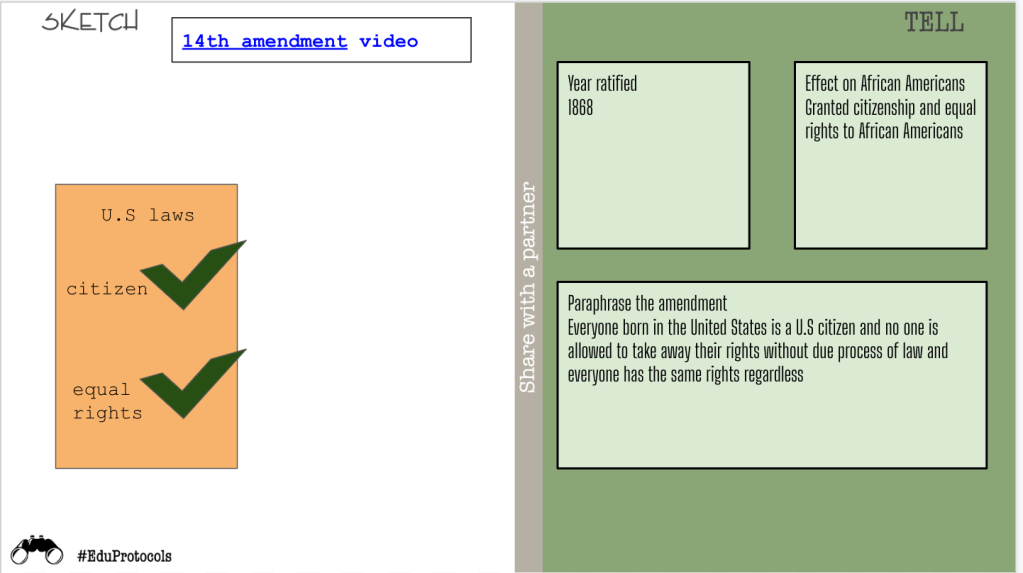
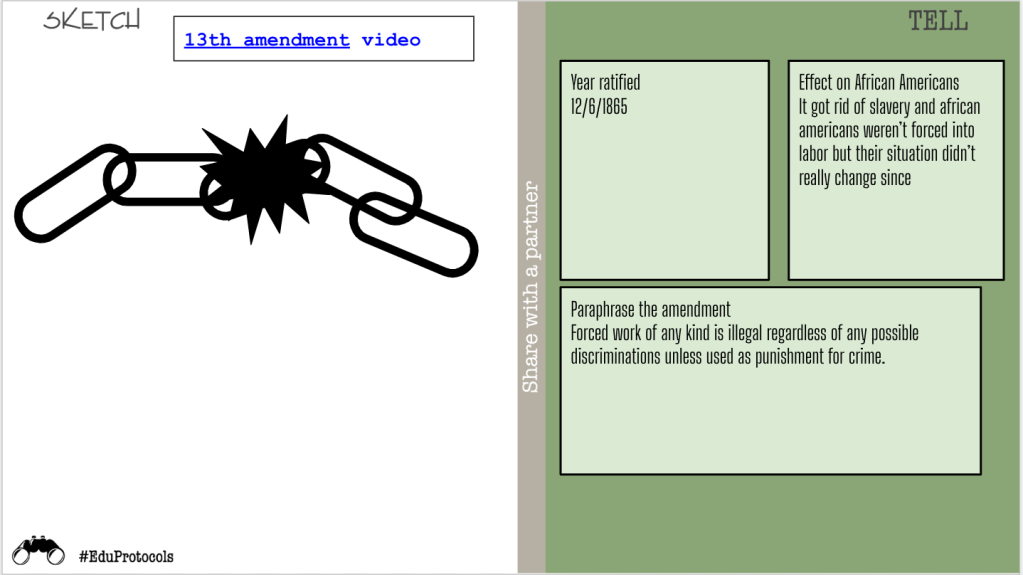
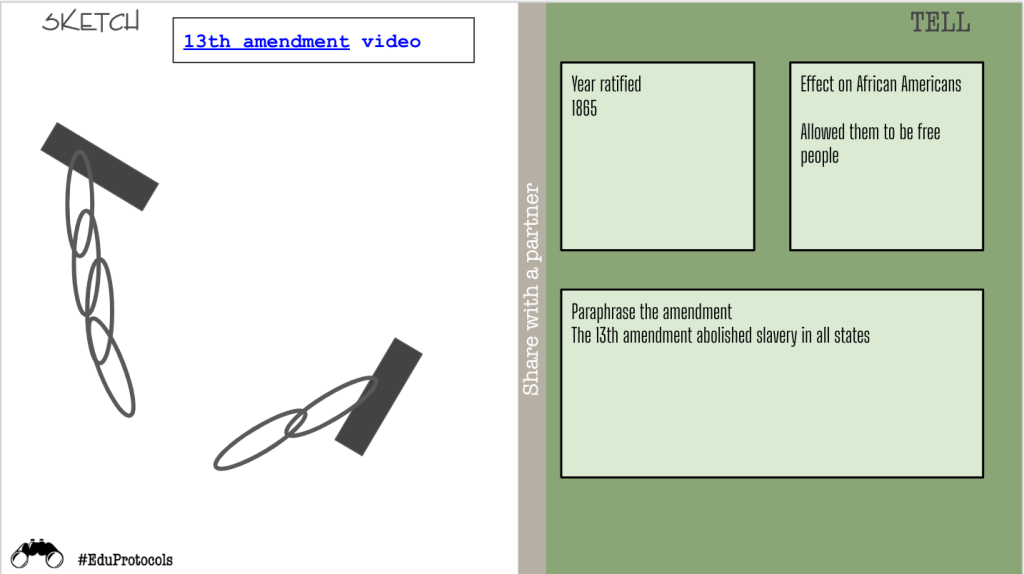
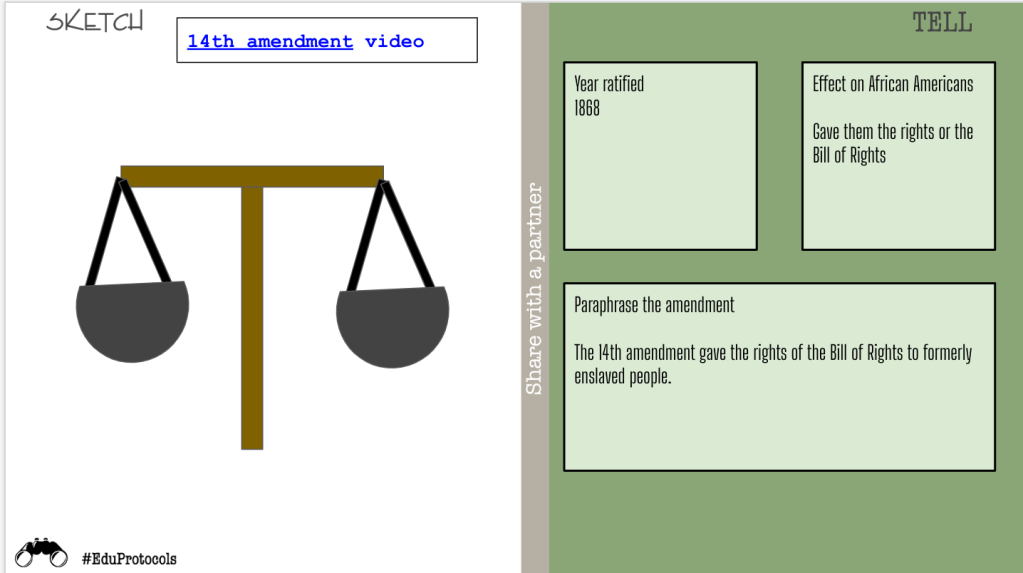
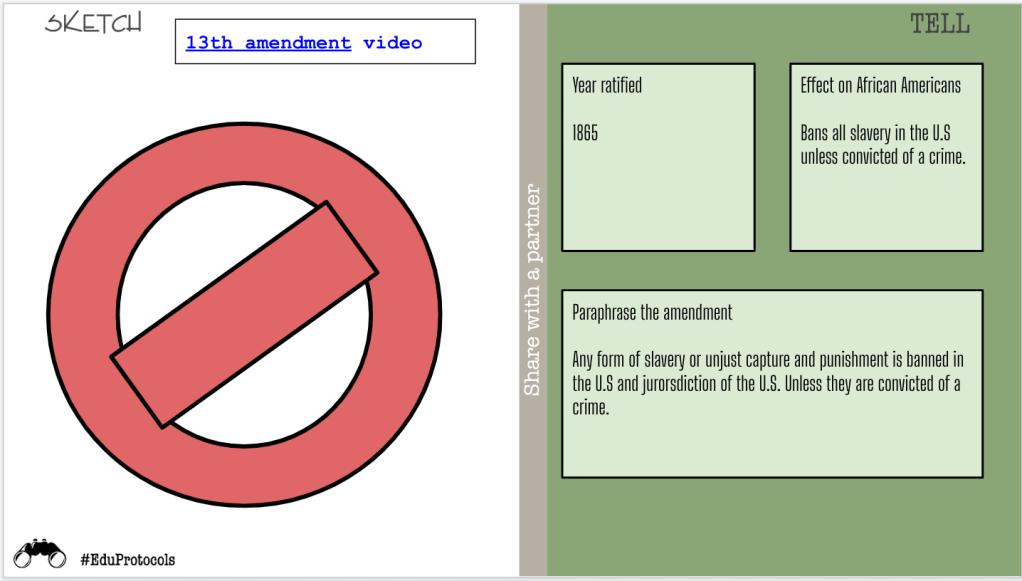
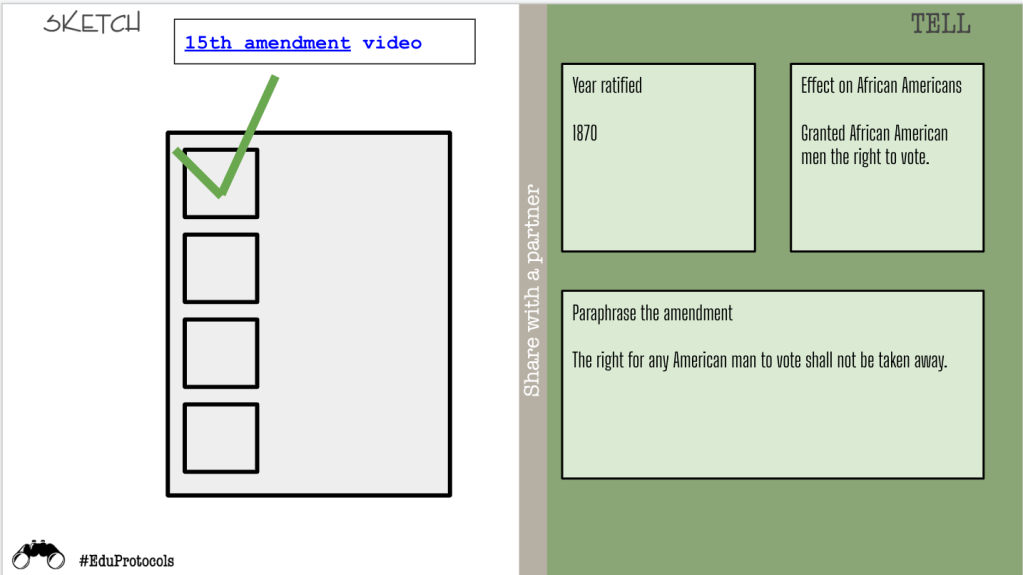
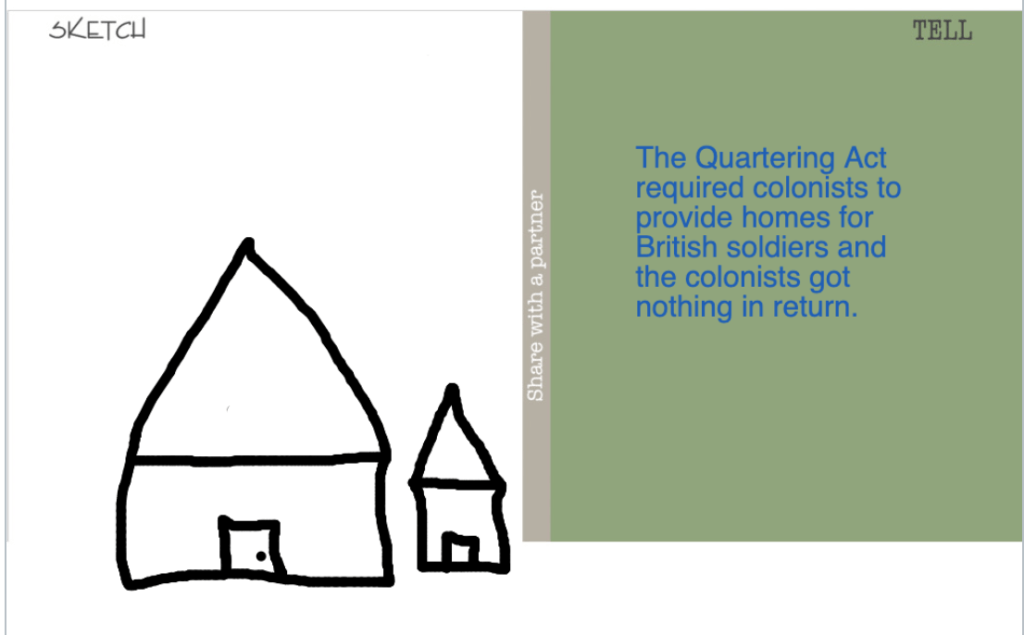
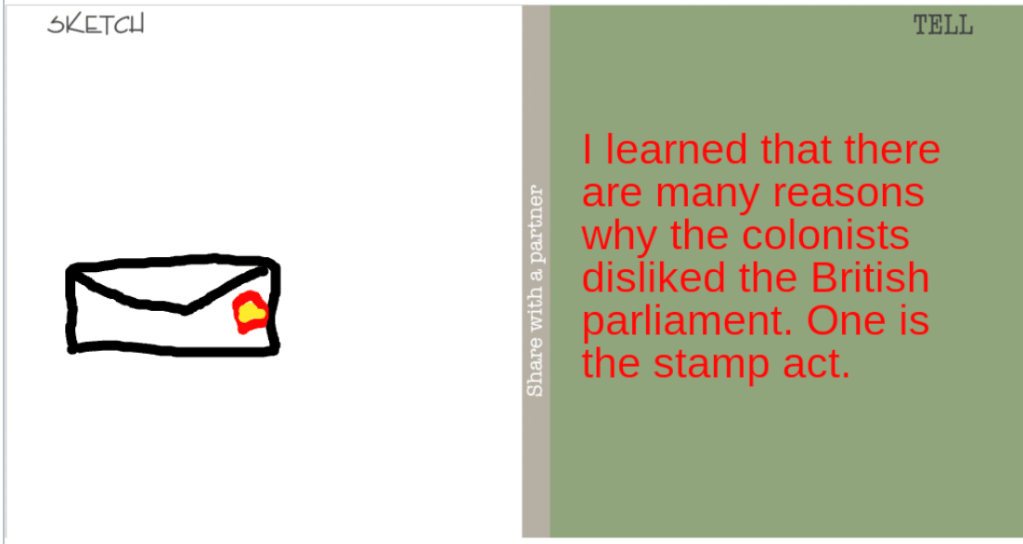
- Draw It Slide – I used this for a Sketch and Tell to have students reflect on what they learned for the day.
I love using Nearpod for the CyberSandwich because it provides a structure for the students. A lot of my students need structure. A LOT. I love this set up too because it’s easy to grade – all of the reports and data are in one spot. Here are some examples of student work:

At the end of class, we finished with a Gimkit. This was the same Gimkit from the previous week. The averaged score from all classes was 72%.
Tuesday
Tuesday I needed a mix up. Something simple, but fun. I was exploring through the EMC2Learning site and stumbled across the Rolling Recap. I feel like I shouldn’t share the Rolling Recap because it’s from a paid site. To keep it simple though – I used 4 dice, students got into groups of 2 or 3, and we had to review content. In short, students loved it, they were engaged, and we had tons of fun. The Rolling recap took about 30 minutes of class time and we finished the day with the same Gimkit from the previous day. All classes raised the class average to 80% or higher.
Wednesday
Since we discussed the anger the colonists were feeling due to taxation without representation, I shifted the focus to the types of protest used during the American Revolution.
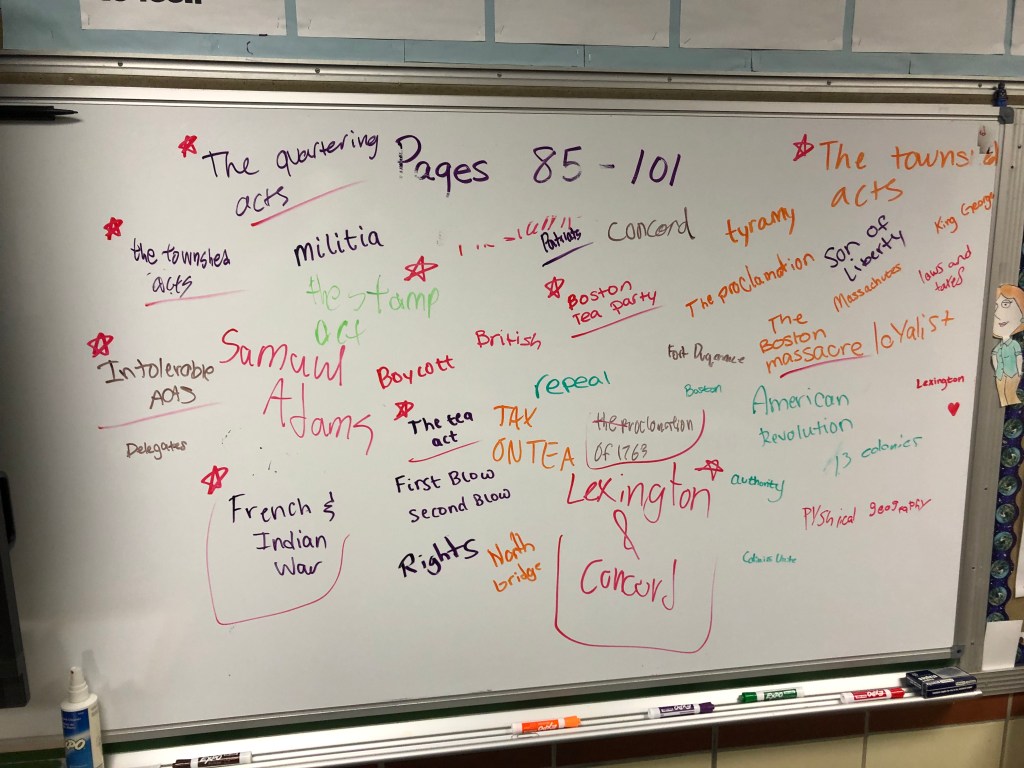
Graffiti Board
To begin the lesson, I used a graffiti board which used this question, “How do people protest, or express themselves, today?” We took 2 minutes and students went to the board to write things such as: destruction, rioting, boycott, signs, marching, voting, writing, etc. The point of this was to help students understand that forms of protest today are no different than protests in the 1770’s.
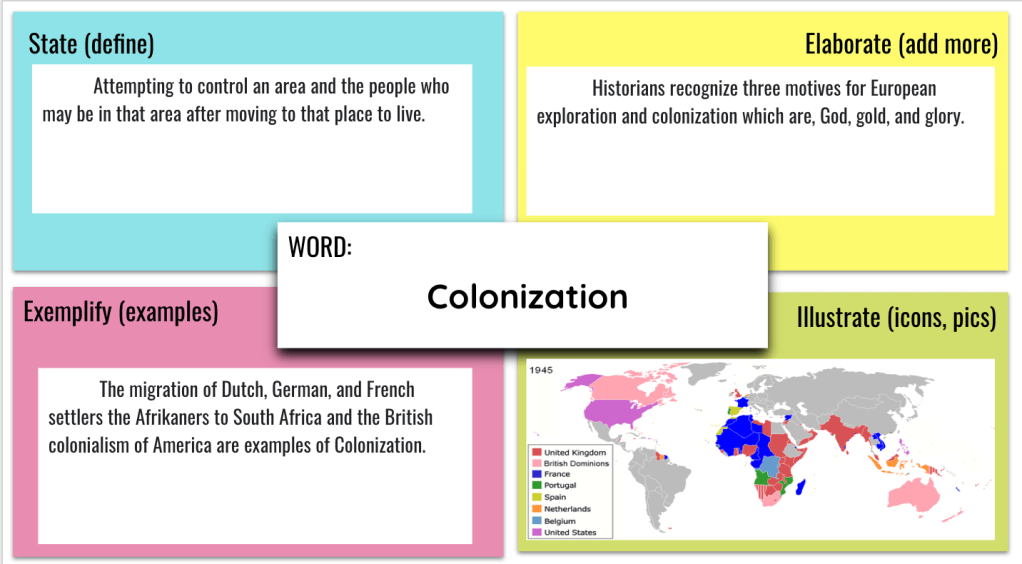
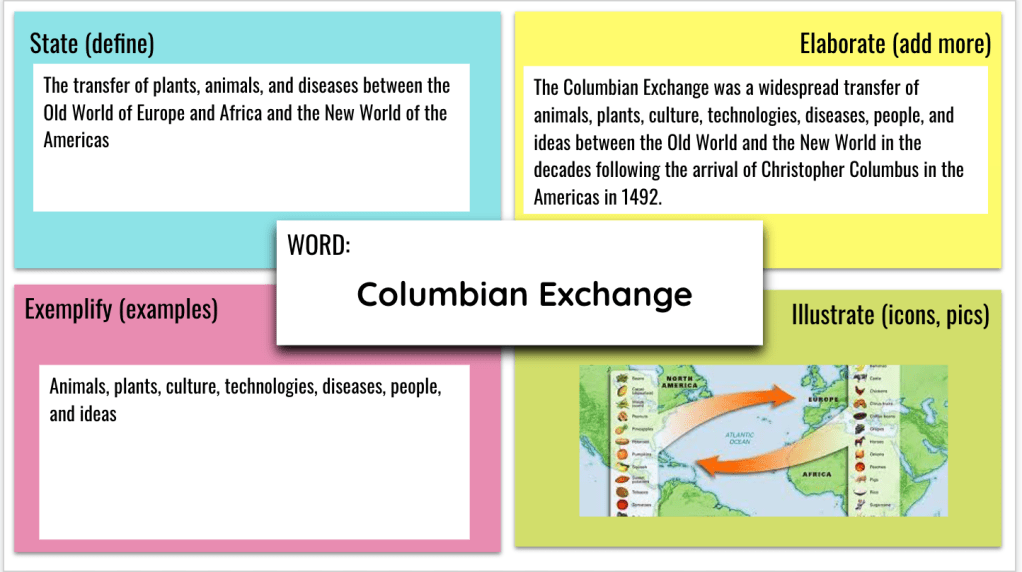
Frayer
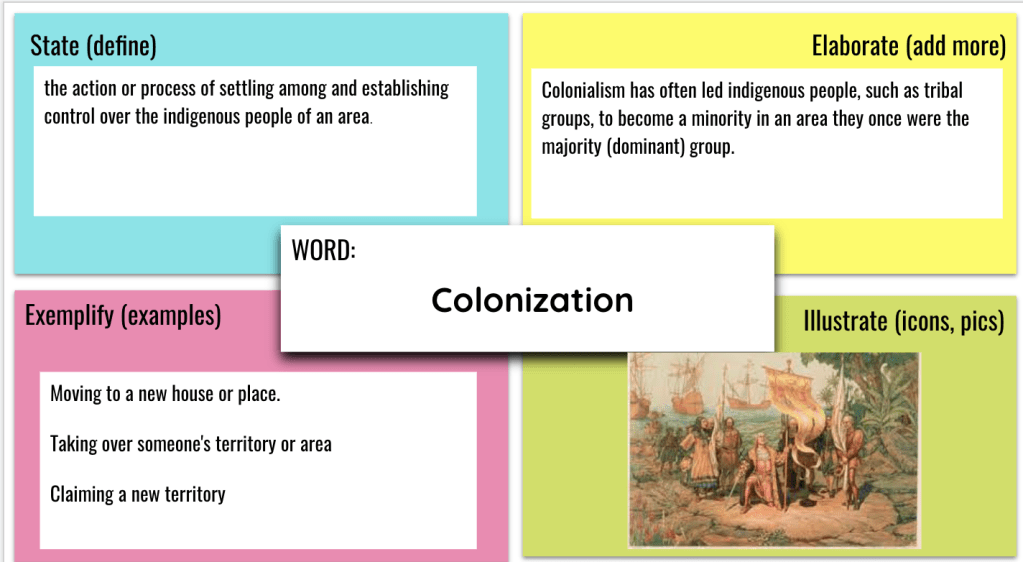
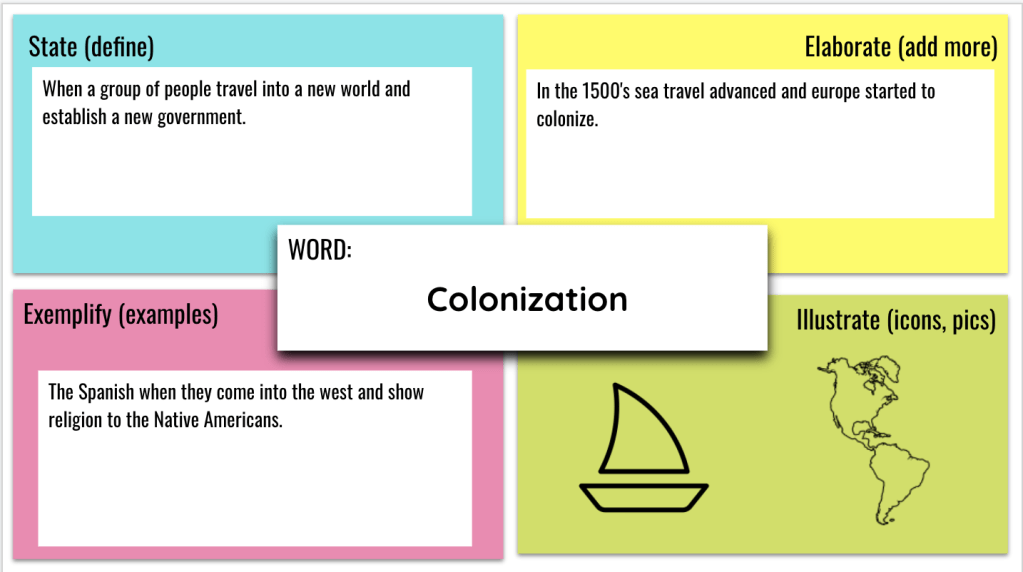
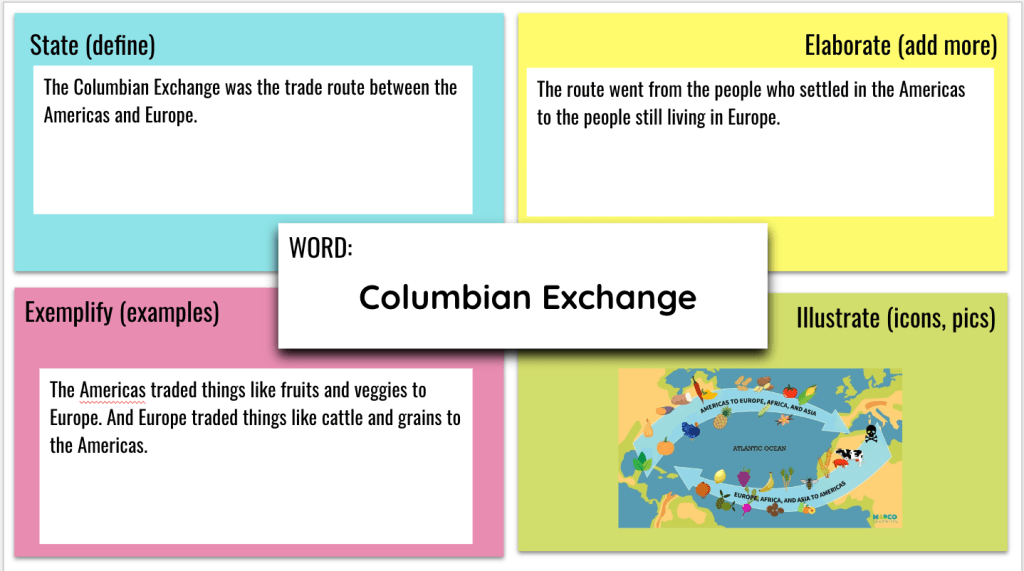
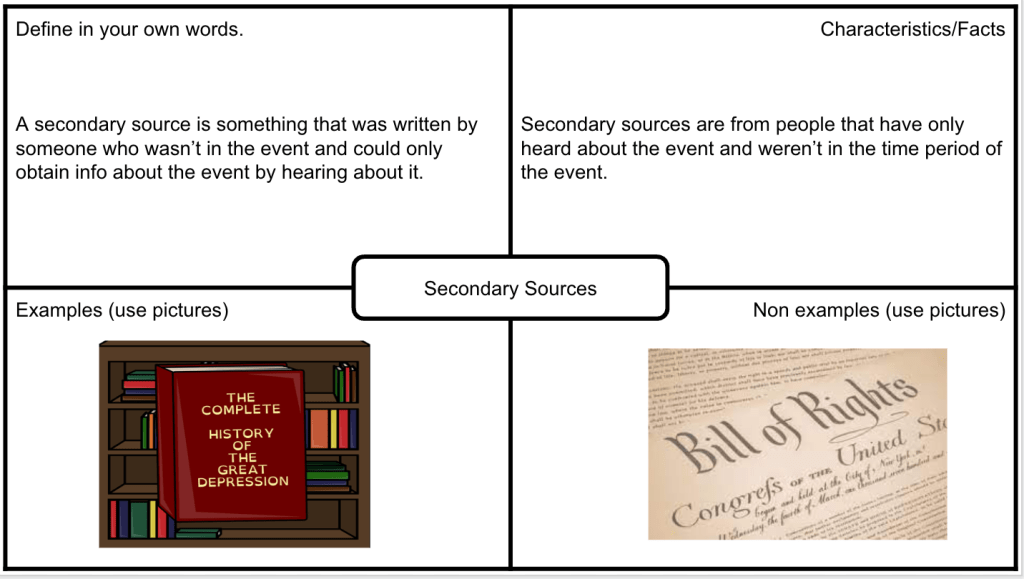
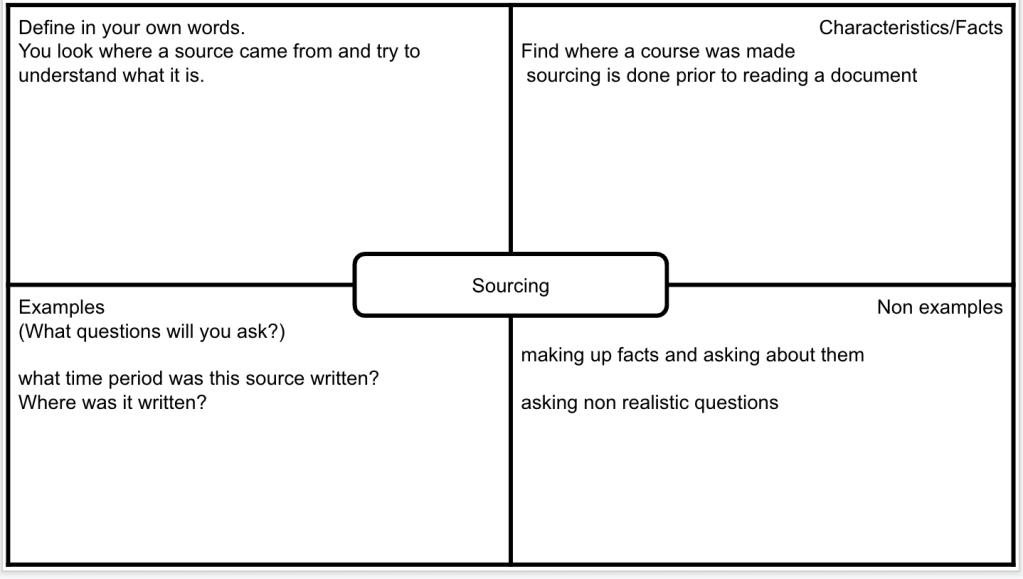
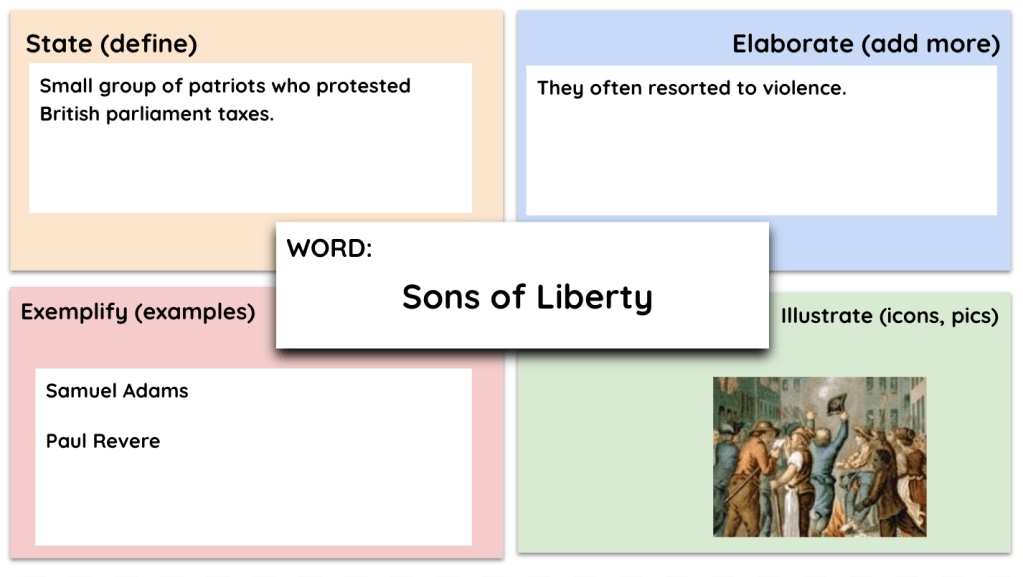
Next I had students complete a Frayer with the groups: Sons of Liberty and the First Continental Congress. These two groups were mentioned in the reading. I set a timer for 8 minutes and students finished both Frayers in that amount of time. One thing I need to do is to use Parafly to help students paraphrase. This is a priority on my list. I chose these two groups because they were mentioned in the protest article the students read. The focus was to have students write their own simple definition, add more information/characteristics about the group, add examples of people in the groupo, and include a picture. I encouraged the students to use words and people they knew. Here are some Frayer examples:

CyberSandwich
Following the Frayer, I had students do a version of a CyberSandwich where they read an article on colonial protests categorized their notes into Peaceful, Violent, and Destructive forms of protests. This CyberSandwich was completed on paper. Students read for 10 minutes and took notes. Then they discussed their notes with a partner.

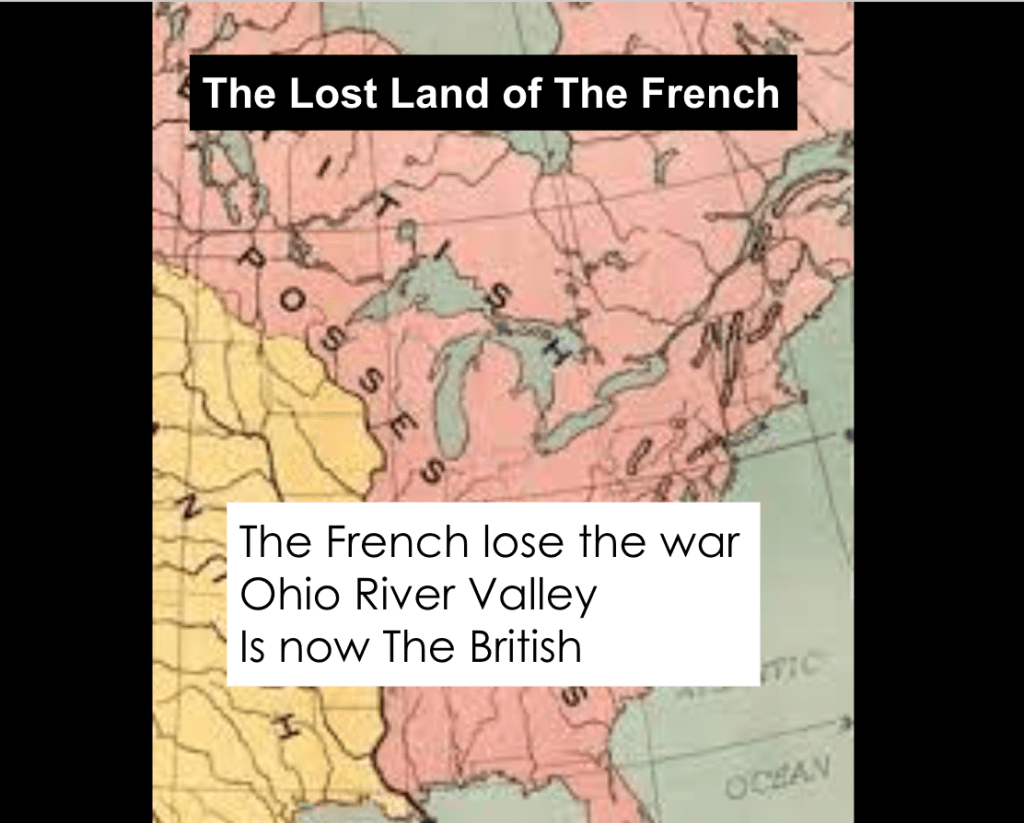
Retell In Rhyme
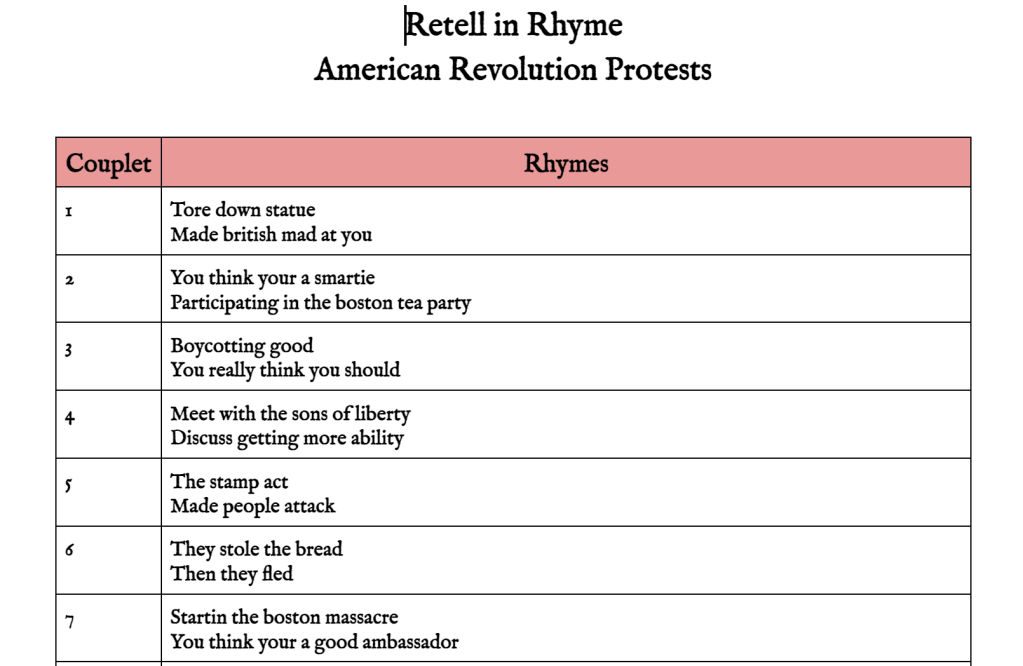
Instead of a CyberSandwich summary, I had students work on a Retell in Rhyme with a partner. I have found that a Retell in Rhyme works best, at the middle school level, with two or more partners. Students had 10-15 minutes to write as many couplets as possible. Here are a few things I did to help simplify the process:
- I explained couplets. I mentioned that “couple” makes up the word couplet so it means 2 sentences that rhyme.
- I also created a Google Doc with a simple table to help students collect their information.
- I shared the website www.rhymezone.com with the students.
I found out quickly that students became frustrated. Creating rhymes is a challenging process, but it’s a good challenge. Every class ended with me knowing that I couldn’t just stop the lesson – I had to keep it going.
Thursday
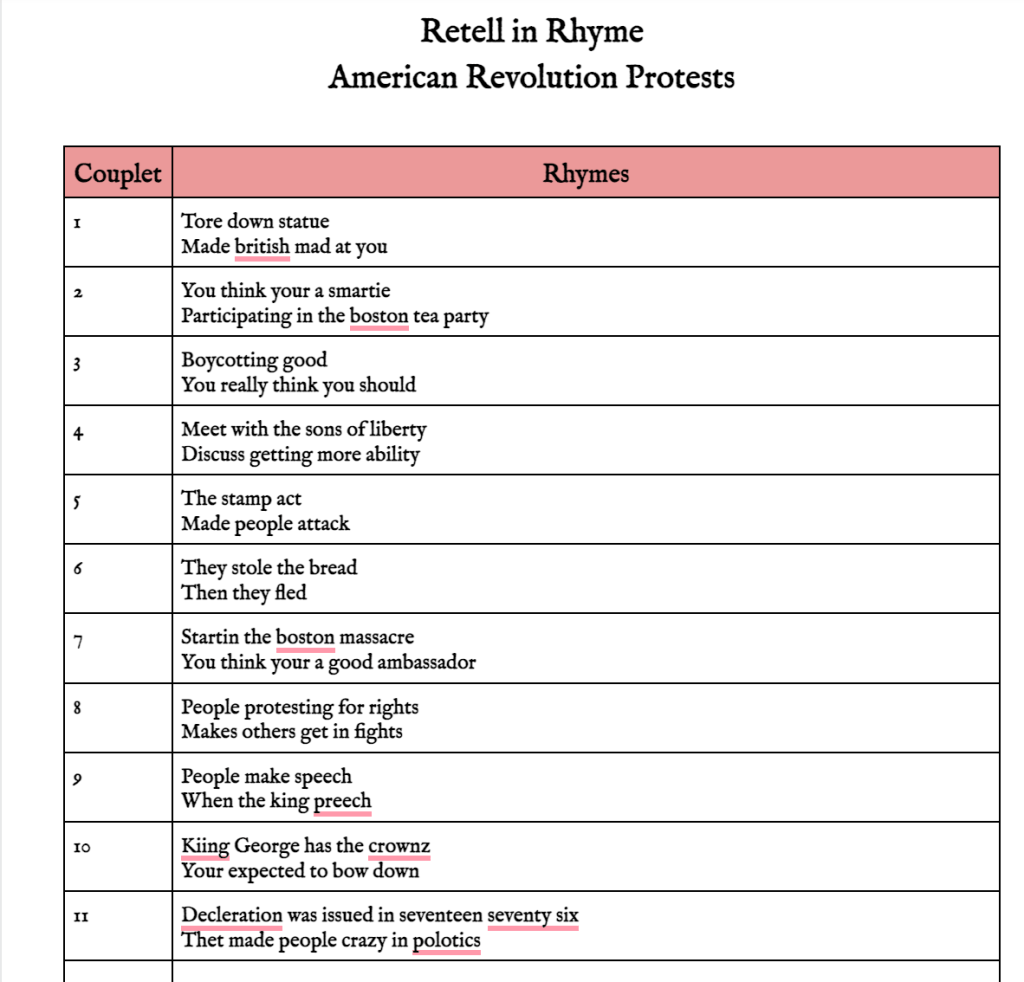
Reflecting on student frustrations from the previous day, I wanted to offer more time for the students to work on their Retell in Rhyme. However, simply beginning class with that would be a disaster. I needed something to activate their memories with recall and get them in the right frame of mind. The Rolling Recap came out again. I had students get together with their partners and we took 15 minutes for a Rolling recap to describe peaceful, violent, and destructive forms of protests. At the conclusion of the Rolling recap, we revisited the Retell in Rhyme.
Here is what I did differently (and it helped out wonderfully)…….
- The Rolling Recap to activate and recall knowledge.
- I used: I do, We do, You do – I created a rhyming couplet, I asked the students to help me create a rhyming couplet, then I gave them 10 minutes to do it on their own.
- I used the I do, We do, You do to explain the use of details from the article and using words that have many rhymes.
Here are the results:


At the conclusion of the retell in Rhyme, I knew the students couldn’t anything more so I set up a surprise Gimkit. The surprise Gimkit: Know your States. I decided that students need to know states, countries, and basic things. However, I don’t have all the time in the world and I will use downtime in class to address this.
Friday
I wanted Friday to be an extension of the protest lesson with the Boston Tea Party. I thought about a Thick Slide, but no. I thought about a CyberSandwich, but no. As I read through the article from last year’s lesson, I realized the Boston Tea Party has some interesting numbers. As a result, we did a Number Mania.
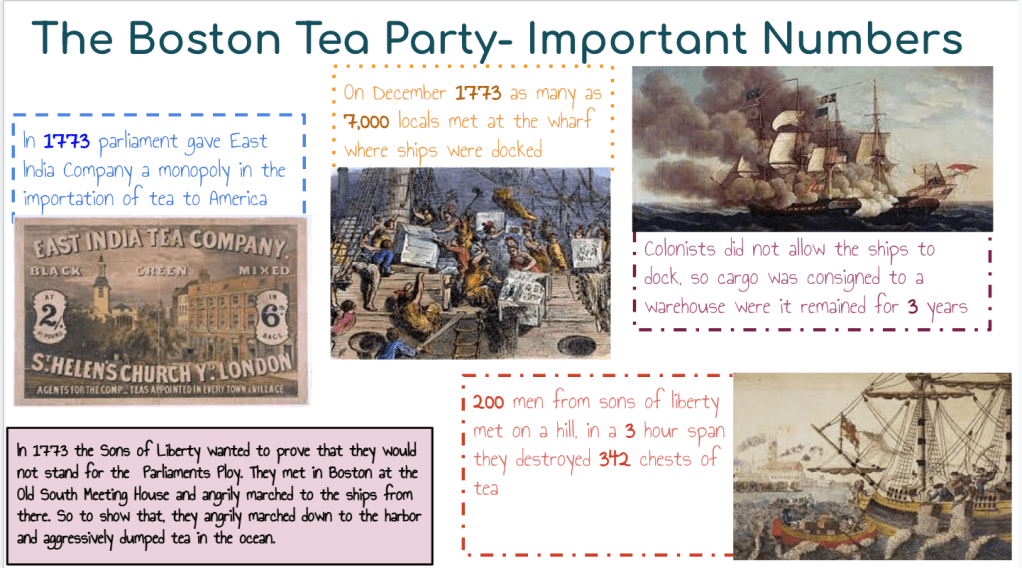
When students came into 505, I gave them an article about the Boston Tea Party. This article was intentional as it had references to things we learned about during the week – Stamp Act, Townshend Act, Sons of Liberty, and so on. I decided to read the article this time. I think it’s good to read to students and offer some insight to the information. As I read, I had the students highlight five numbers with facts about the Boston Tea Party.
When I finished reading, I gave the students fifteen minutes to create a Number Mania slide. They had to include a title, 5 numbers with facts, and pictures. The Number Mania slide should tell the story of the Boston Tea Party. When the fifteen minute timer ended, it was time for an 8Parts.
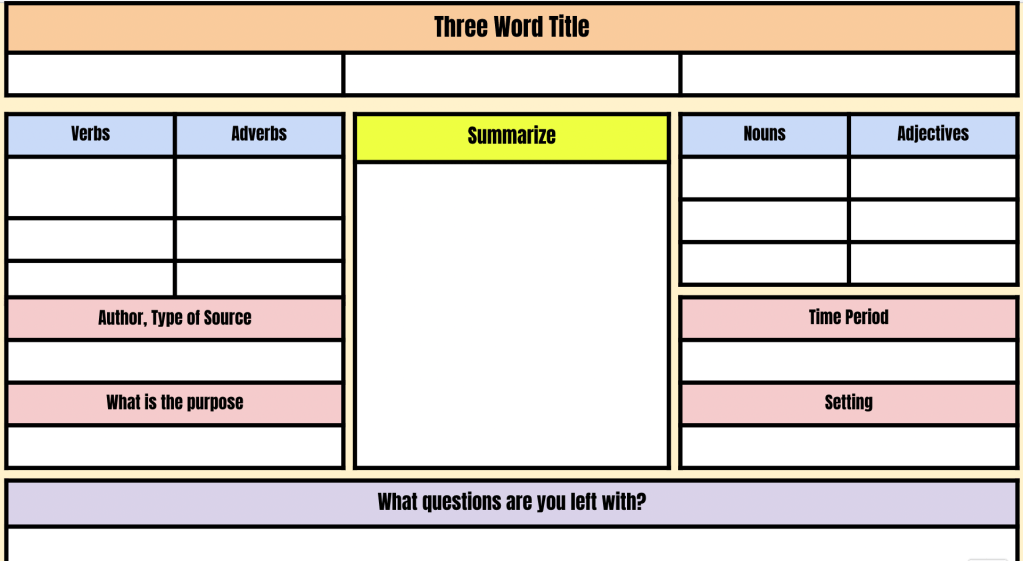
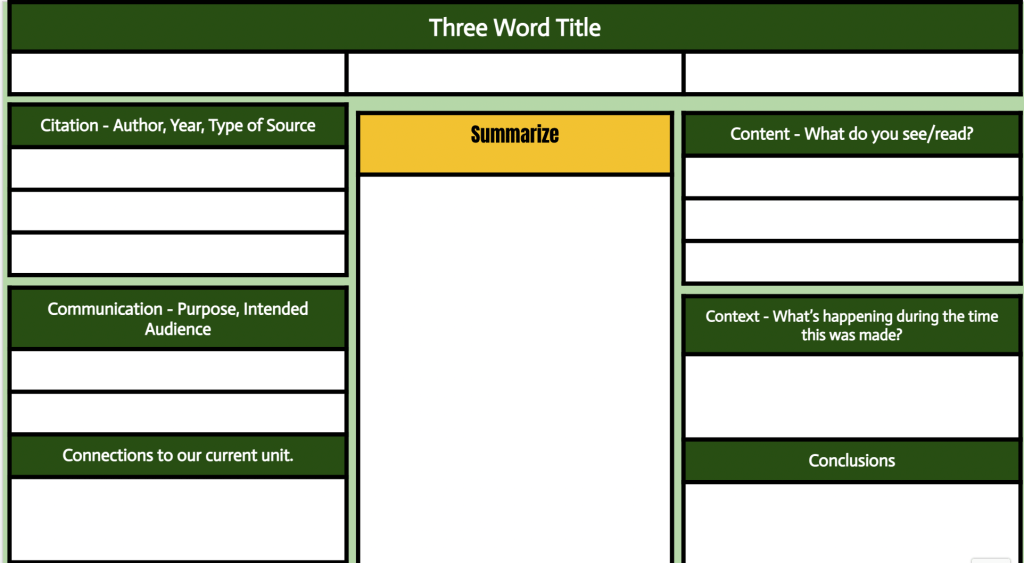
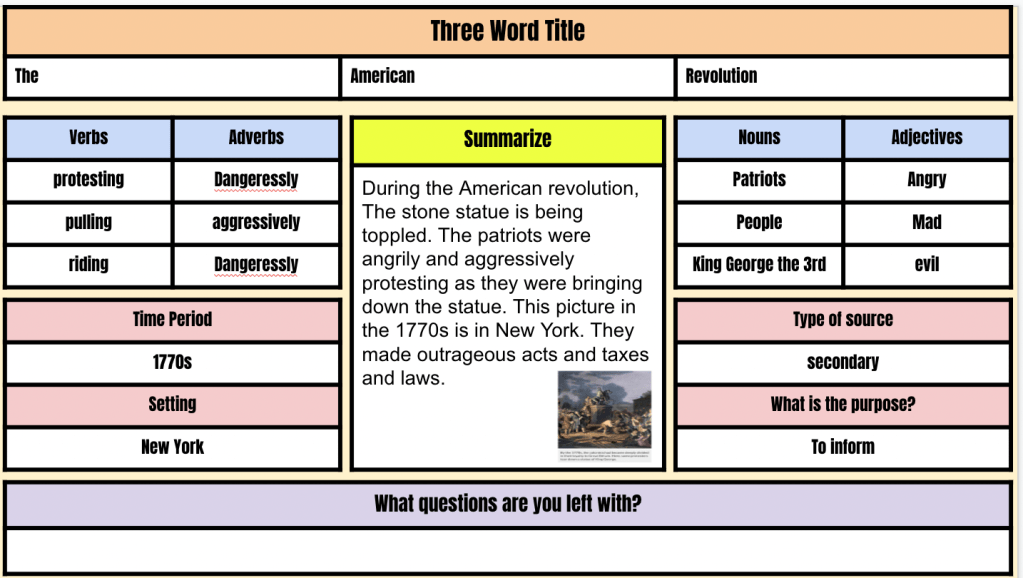
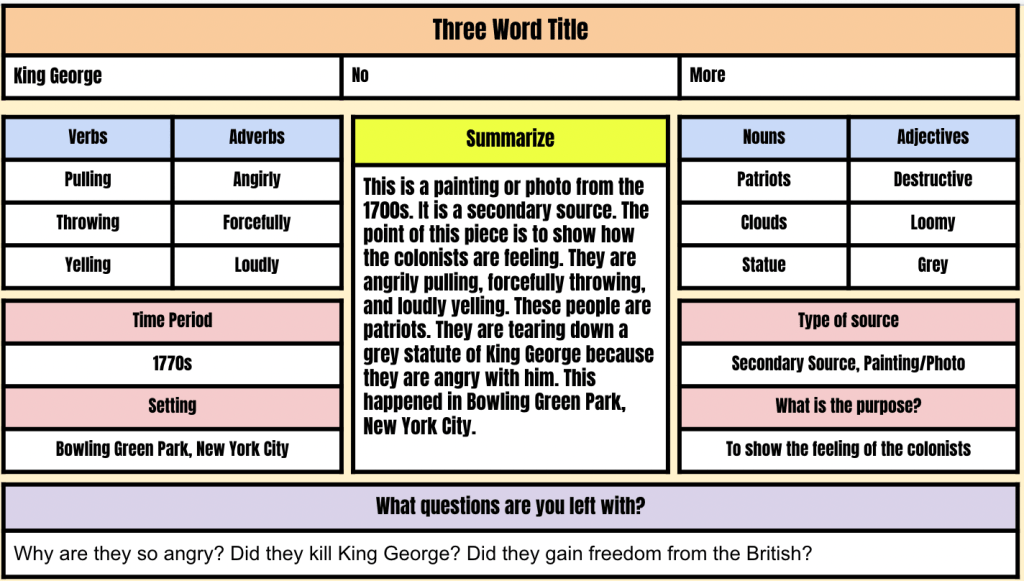
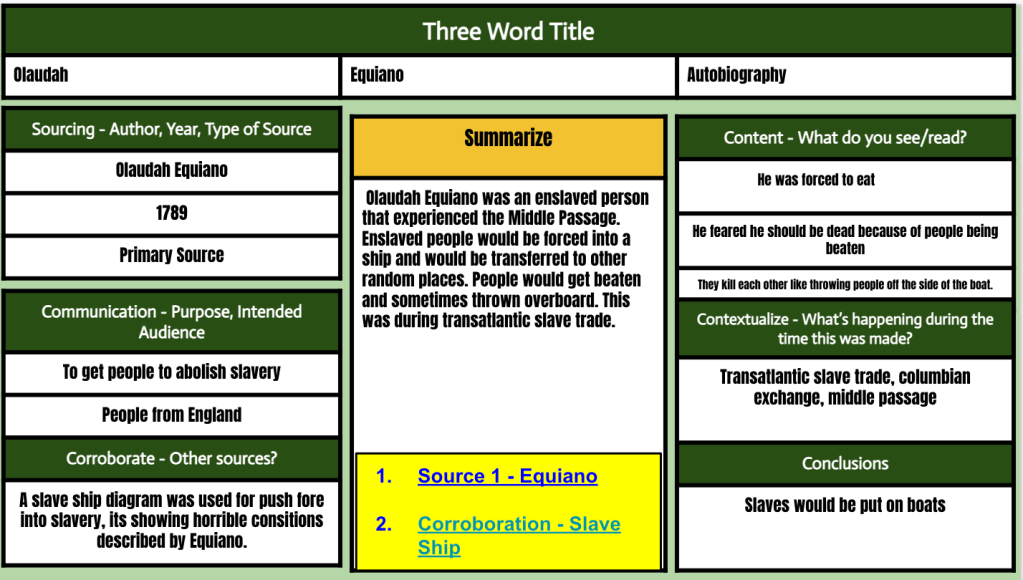
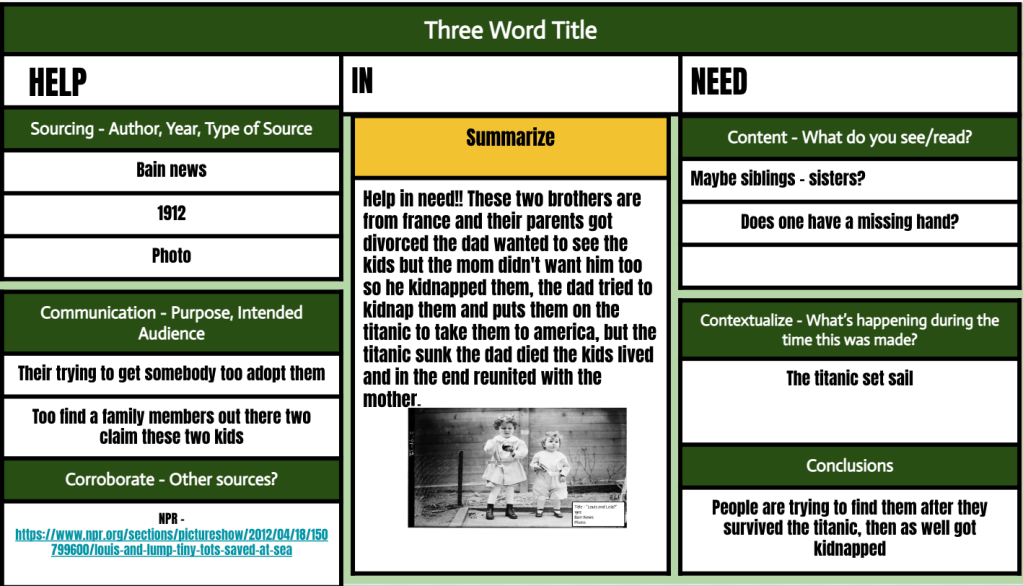
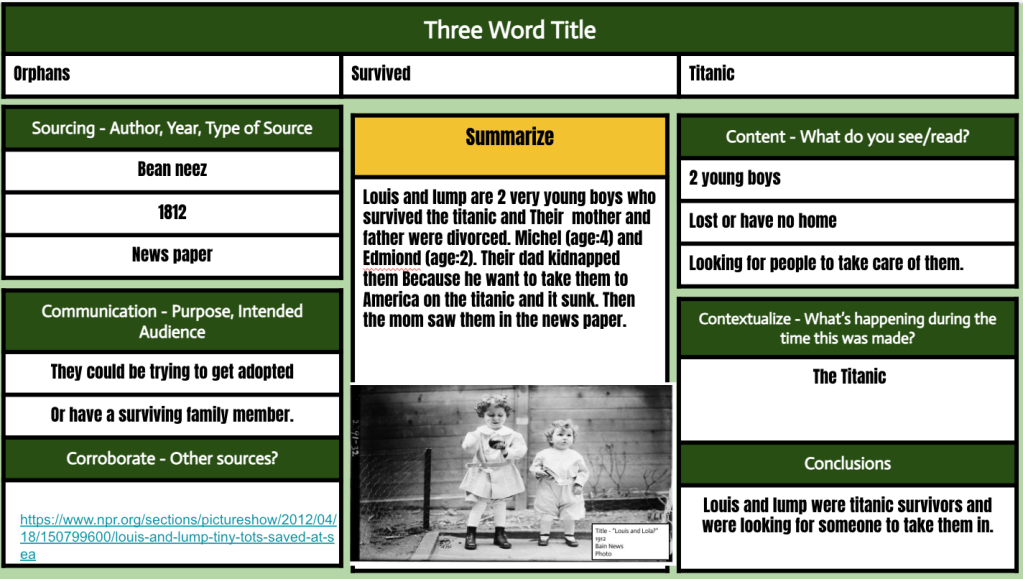
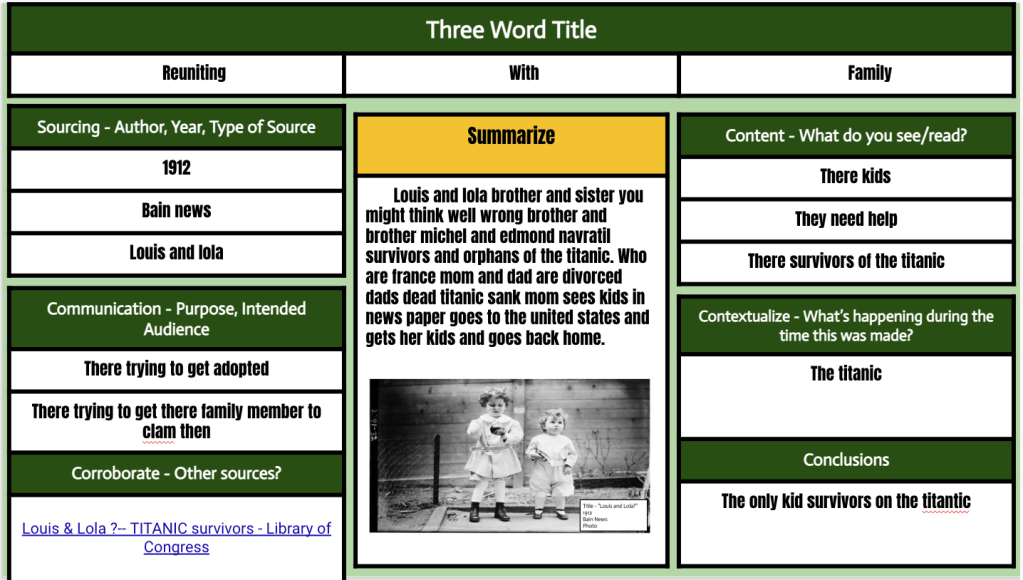
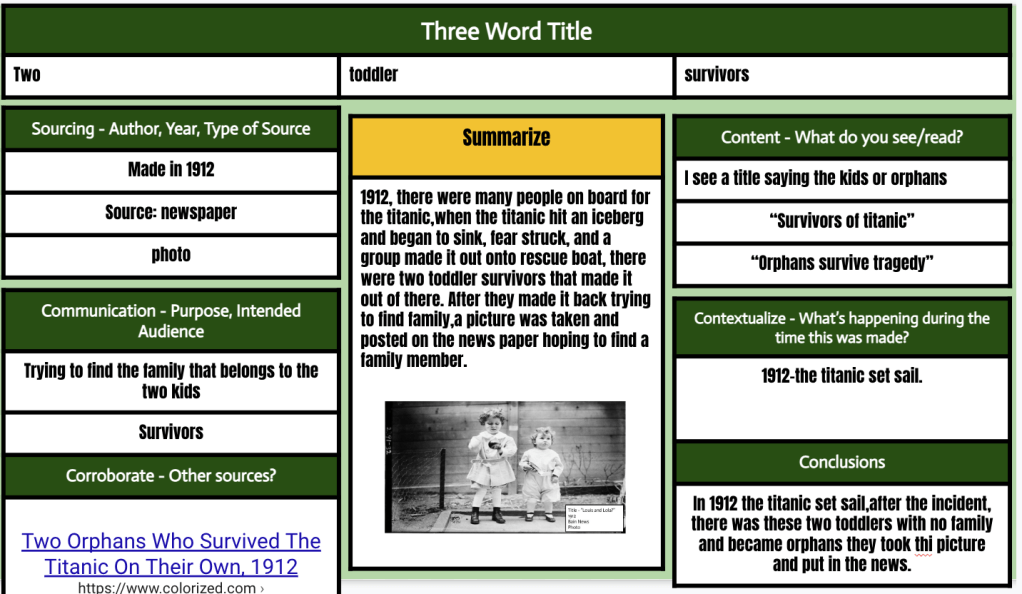
The reading I handed out for the Number Mania was simple and to the point. No pictures. No pictures on purpose. After we read for numbers, facts, and details we used the 8Parts. The 8Parts was used a visual, a way to use the details we just ead, and a way to work on some ELA skills. As students analyzed the picture, I encouraged them to use nouns such as Sons of Liberty, chests of tea, ships, Boston, etc. Students also sourced the painting of the Boston Tea Party. Finally, they created a summary and pasted their summary onto their Number Mani slide. The two EduProtocols were a perfect compliment to each other. Here are some students examples:
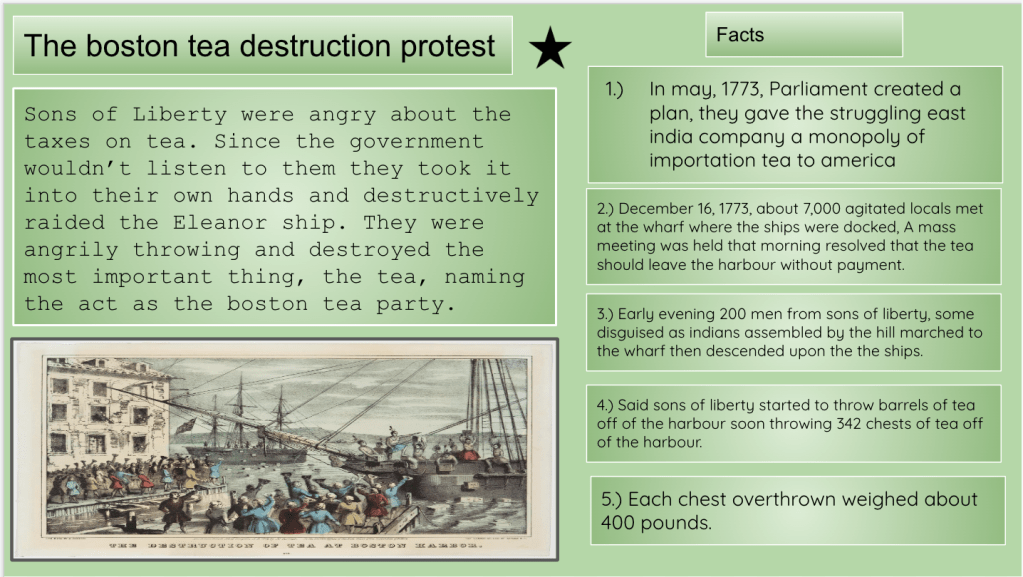
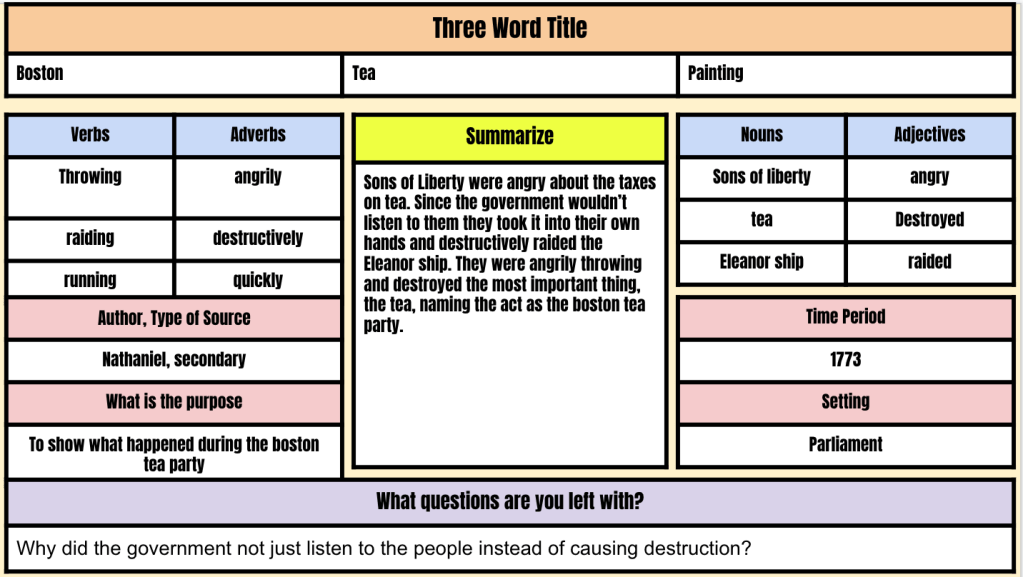
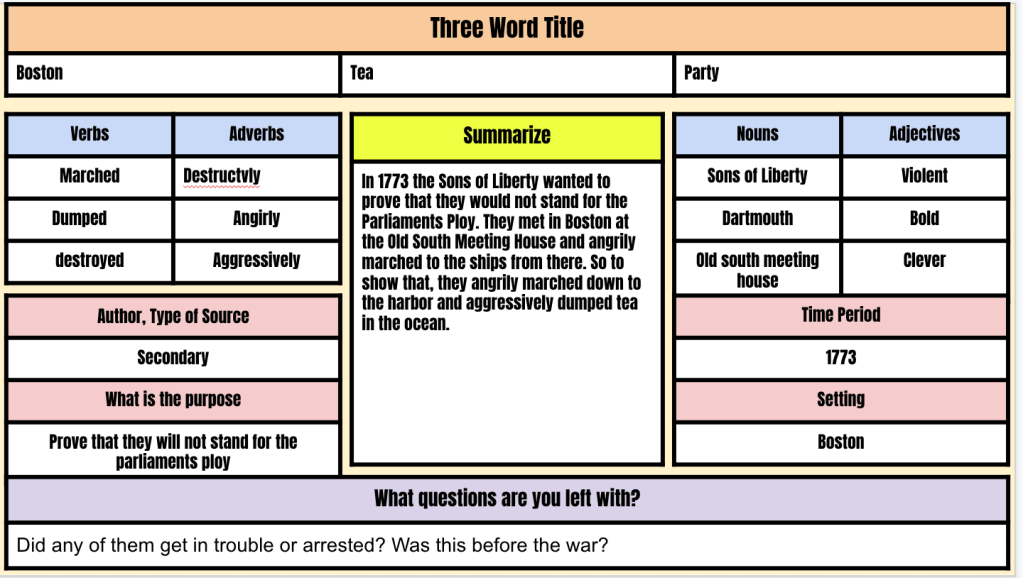
The reading and Number Mania took 20 minutes, and the 8Parts took 10 minutes. In total, the slides you are looking at took 30 minutes total. One of these Number Mania slides was completed by a student with an IEP. This is my new favorite combination of EduProtocols – a plain reading, Number Mania, and an 8Parts to bring in a visual and summary.
At the conclusion of this lesson, we concluded with a Gimkit over 4th grade trivia. I have nothing more to say after seeing the class averages……..